Cured contact cement is highly water-resistant and can function as waterproof adhesive in many indoor, sheltered, and intermittent-wet applications. Ordinary contact cement is not automatically suitable for continuous submersion, standing water, or prolonged outdoor weathering. The product label, adhesive formulation, substrate, surface preparation, and exposure conditions determine whether the bond remains reliable.
Key Facts at a Glance
- Solvent-based contact cement usually provides better water and heat resistance than standard water-based formulas.
- Contact cement bonds when two dry adhesive films meet under pressure, so joining wet or tacky surfaces commonly causes failure.
- A contact-cement bond may be immediately usable, but maximum resistance usually requires at least 24 hours.
- Ordinary contact cement is a poor default choice for permanently submerged joints, pools, aquariums, and marine structures.
- Porous surfaces often need a sealing coat followed by a second thin adhesive coat.
- Contact cement is flexible and effective for laminates, leather, rubber, veneer, and some plastics, but it does not fill gaps well.
Is Contact Cement Waterproof?
Contact cement is waterproof enough for splashes, wiping, humidity, and many short-term wet conditions after the adhesive has cured. The word “waterproof” becomes misleading when a joint faces constant immersion, hydrostatic pressure, repeated freeze-thaw cycles, or months of ultraviolet exposure.
The main distinction is between a sealed bond line and an adhesive approved for a wet-service environment. A countertop laminate may remain firmly attached through years of cleaning, while a repair below the waterline may loosen because the edge, substrate, or adhesive was never rated for immersion.
| Exposure condition | Typical result with cured contact cement | Recommended decision |
|---|---|---|
| Occasional splash | Usually resists water | Suitable if the label permits |
| Damp indoor room | Usually performs well | Suitable with sealed edges |
| Repeated sink cleaning | Often performs well | Use a water-resistant formula |
| Covered outdoor exposure | Variable | Verify exterior rating |
| Direct rain and sunlight | Variable to poor | Choose an exterior-rated adhesive |
| Continuous immersion | Unreliable unless specifically rated | Use marine or immersion-rated adhesive |
| Pool or aquarium service | Not a safe default | Use a product approved for that environment |
Water can also reach the bond indirectly. If a wood core absorbs moisture and swells, the laminate may peel even when the adhesive film itself resists water. The bond therefore has two waterproofing tasks: resist liquid at the interface and prevent the connected materials from moving, swelling, shrinking, or corroding.
What Contact Cement Is
Contact cement is a rubber or neoprene-based adhesive that forms a flexible film on both surfaces before assembly. Unlike PVA wood glue, contact cement does not normally bond by keeping two wet surfaces clamped together while water evaporates; the carrier leaves first, and pressure activates contact between the prepared films.
Manufacturers sell solvent-based and water-based versions for different substrates and working environments. DAP Weldwood, LePage, Barge, and similar products may share the contact-cement name while differing in solvent system, temperature resistance, surface compatibility, and approved uses.
Contact cement is especially useful when clamping would be difficult or when a large, thin material must be attached evenly. Veneer, plastic laminate, shoe soles, leather panels, rubber sheet, cork, and fabric-backed materials are common applications.
How Does Contact Cement Bond?
Contact cement bonds when two dry, coated surfaces touch under firm pressure, allowing the rubbery adhesive films to merge across their contact area. The carrier liquid must evaporate before assembly; trapped solvent or water can leave a soft film, bubbles, weak edges, and long-term creep.
A typical application has four stages:
- Coating: Apply a thin, even film to both mating surfaces.
- Flash-off: Wait until the adhesive feels dry and does not transfer to a clean fingertip.
- Assembly: Bring the surfaces together only after alignment is certain.
- Pressure: Roll or press the joint to remove air and establish uniform contact.
The bond is immediate in the practical sense that parts cannot usually be repositioned after contact. Immediate handling strength does not mean maximum environmental resistance. A joint can survive trimming soon after assembly while still gaining resistance during the next day.
Why Wet Contact Cement Fails
Wet contact cement contains carrier that has not yet escaped. When two wet films meet, the liquid can remain trapped between relatively impermeable surfaces, especially plastic laminate, metal, dense leather, and rubber. The result may be a soft bond that never develops the expected strength.
A thick coat creates the same problem. Contact cement needs a continuous film, not a deep layer. Two thin coats on absorbent material often work better than one thick coat because the first coat seals pores and the second creates a usable bonding film.
Which Type Resists Water Best?
Solvent-based contact cement generally offers the strongest water resistance and faster flash-off, while water-based contact cement provides lower odor and easier indoor handling but may have lower tolerance for prolonged wet exposure. Specialty vinyl, polyurethane, and marine adhesives are better choices when immersion or outdoor weathering is expected.
| Formula | Typical flash-off | Water performance | Main limitation | Common uses |
|---|---|---|---|---|
| Solvent-based neoprene | 10-30 minutes | High after cure | VOCs and flammability | Laminate, leather, metal |
| Water-based contact cement | 20-60 minutes | Moderate to high, label-dependent | Slower drying and humidity sensitivity | Indoor laminate, crafts |
| Vinyl cement | 10-30 minutes | High on compatible vinyl | Limited substrate range | Vinyl repair and upholstery |
| Polyurethane adhesive | 30-120 minutes | High to waterproof, product-dependent | Usually needs clamping | Exterior wood and marine repairs |
| Marine contact adhesive | 10-60 minutes | Rated for specified wet service | Higher price and narrower uses | Boats, inflatables, wet exposure |
“Water-based” does not mean that the cured adhesive dissolves immediately in water. It means water was used as the carrier. Conversely, “solvent-based” does not guarantee performance in every wet environment. The technical data sheet remains more reliable than the formula name.
Solvent-Based Contact Cement
Solvent-based contact cement is usually the better choice for water resistance, heat tolerance, and demanding laminate or leather work. The trade-off is significant: many formulas release volatile organic compounds, remain flammable until dry, and can damage foam, soft plastics, painted surfaces, or synthetic materials.
Use strong ventilation and eliminate ignition sources. A respirator, if required by the product safety data sheet, must use cartridges suitable for organic vapors. A dust mask does not protect against solvent vapor.
Water-Based Contact Cement
Water-based contact cement reduces odor and flammability concerns, which makes it more practical for some indoor workshops. High humidity can extend drying time, and a water-based formula may need a longer open period before it reaches the dry, matte condition required for assembly.
Water-based products are useful for approved laminates, fabrics, and craft materials. They should not be selected for immersion merely because they are easier to use. Check the label for water resistance, temperature limits, and approved substrates.
How Do You Apply Contact Cement?
Apply contact cement to clean, dry, compatible surfaces, allow both films to dry until non-transferable, align the parts with spacers, then join them once and apply firm rolling pressure. A careful application usually takes 30-90 minutes before assembly and at least 24 hours before demanding wet or structural service.
Before You Start
| Requirement | Typical specification |
|---|---|
| Adhesive quantity | 50-60 square feet per quart on smooth surfaces |
| Working temperature | Commonly 18-27°C, check label |
| Flash-off time | 10-30 minutes for many solvent formulas |
| Pressure tool | J-roller, laminate roller, or hand roller |
| Surface abrasive | 80-120 grit for dense smooth materials |
| Ventilation | Outdoor airflow or mechanical ventilation |
| Alignment aids | Dowels, strips, or wax paper spacers |
Step 1: Check Compatibility
Read the label and technical data sheet for both surfaces. Contact cement can attack expanded polystyrene, some vinyls, acrylics, and solvent-sensitive coatings. Test a hidden area, especially when bonding plastic, foam, painted metal, or synthetic leather.
Success checkpoint: The test area shows no softening, wrinkling, discoloration, or loss of surface finish after the adhesive dries.
Common mistake: Assuming two materials are compatible because a similar product bonded them previously. Solvent packages vary between brands.
Step 2: Prepare the Surfaces
Remove grease, wax, dust, silicone, and loose fibers. Lightly abrade glossy metal, hard plastic, and dense leather, then remove sanding residue. Wood veneer and porous board may need a first coat to seal the surface.
Success checkpoint: The surface is clean, dry, uniformly dull where abrasion was required, and free of loose particles.
Common mistake: Cleaning with a residue-forming product. Silicone contamination can defeat even a correctly applied adhesive.
Step 3: Coat Both Sides
Brush, roll, or spread a thin, uniform coat on each mating surface. Porous materials may absorb the first coat, so allow it to dry and apply a second thin coat rather than applying one heavy layer.
Success checkpoint: The cured film appears continuous, with no glossy wet pools, ridges, or uncovered edges.
Common mistake: Coating only one surface. Contact cement depends on two active adhesive films.
Step 4: Wait for the Correct Bonding Condition
Allow the adhesive to flash off according to the label, commonly 10-30 minutes for solvent-based products and longer for water-based formulas. The surface should feel dry and slightly receptive, not wet, stringy, or transferable.
Success checkpoint: A light touch with a clean finger leaves no adhesive transfer while the film remains flexible.
Common mistake: Joining because the clock says 15 minutes. Temperature, humidity, film thickness, and porosity can change the actual waiting period.
Step 5: Align and Join Once
Use dowels, thin sticks, or wax paper to prevent premature contact while positioning a large panel. Remove the spacers progressively, then press the surfaces together from one side toward the other.
Success checkpoint: The panel lies flat without bubbles, wrinkles, or shifted edges.
Common mistake: Trying to slide the pieces into alignment after contact. Contact cement has little useful repositioning ability.
Step 6: Apply Pressure and Cure
Roll the entire surface with firm overlapping passes, paying special attention to edges and corners. Leave the assembly undisturbed while the adhesive develops its final resistance, usually at least 24 hours.
Success checkpoint: No edge lifts under moderate hand pressure, and tapping produces a consistent sound across the bonded area.
Common mistake: Routing or flexing an edge before it has been properly rolled. Early handling can create a failure that appears days later.
How Long Does Contact Cement Take to Cure?
Contact cement commonly becomes ready for assembly in 10-30 minutes, reaches useful handling strength immediately after pressure is applied, and develops its best water and heat resistance after approximately 24 hours. Thick films, cold conditions, high humidity, and nonporous materials extend the process.
| Stage | Typical time | What the user should do |
|---|---|---|
| Application | 5-20 minutes | Coat both surfaces evenly |
| Flash-off | 10-30 minutes | Wait for a dry, non-transferable film |
| Assembly window | About 30-60 minutes | Join while films remain active |
| Initial handling | Immediate after rolling | Avoid peeling and heavy flexing |
| Light service | 12-24 hours | Keep dry and supported |
| Full practical cure | 24-72 hours | Introduce normal service gradually |
| Extended performance development | Up to 7 days | Avoid severe stress if possible |
A manufacturer’s technical data sheet controls whenever it differs from these typical ranges. The cure period is not simply a countdown because a contact adhesive film may appear dry while solvent remains trapped underneath an impermeable surface.
Does Heat Improve Contact-Cement Performance?
Cured contact cement can tolerate moderate heat, but the exact limit depends on the product and load. Many general-purpose formulas list service temperatures around 65-82°C, while high-temperature industrial products may specify higher values.
Heat softens rubber-based adhesive films. A dark countertop beside a sunny window can become hotter than room temperature, and a bond under tension may creep even if water is not present. Keep hot pans, heaters, and exhaust outlets away from ordinary contact-cement joints unless the manufacturer provides a suitable temperature rating.
Can Contact Cement Be Used Outdoors or Underwater?
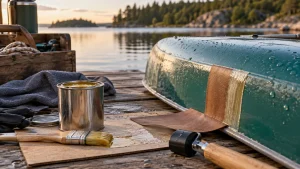
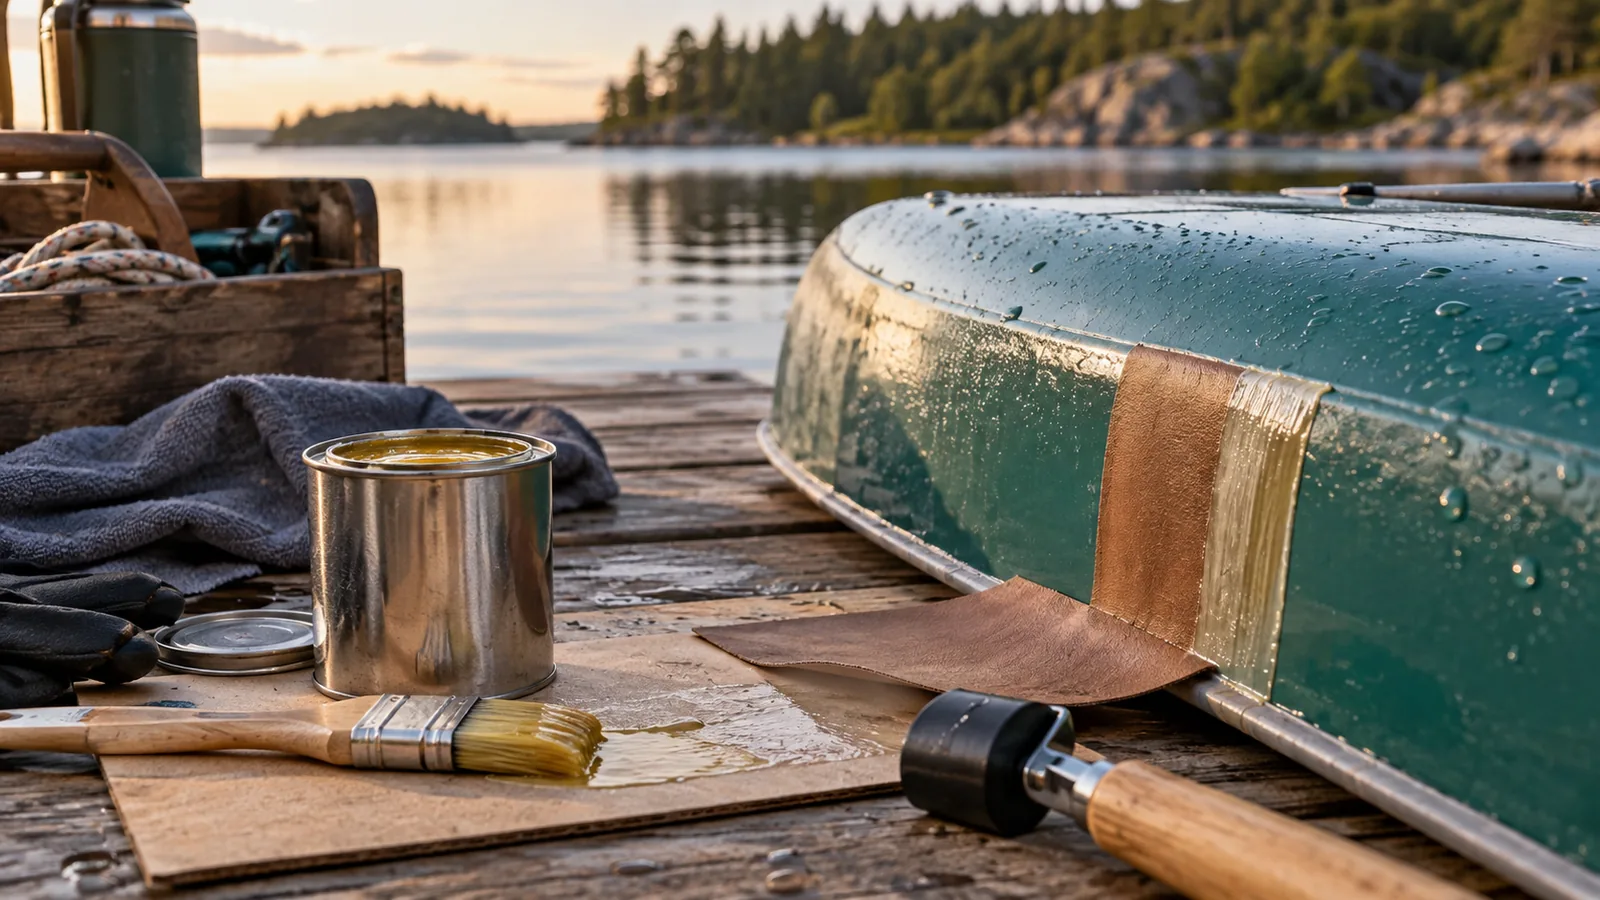
Contact cement can work outdoors when the selected product is explicitly rated for exterior exposure and the joint is protected from standing water, ultraviolet light, and movement. Ordinary indoor contact cement should not be assumed suitable for underwater repairs, boat hulls, pools, aquariums, or permanently wet joints.
| Situation | Contact cement decision | More suitable option |
|---|---|---|
| Outdoor sign laminate under an overhang | Possible with exterior-rated formula | Exterior contact adhesive |
| Leather shoe sole exposed to rain | Possible for compatible footwear cement | Shoe or sole adhesive |
| Vinyl boat cushion above waterline | Possible with marine-rated product | Marine vinyl adhesive |
| Inflatable puncture | Only with product-specific approval | Inflatable-repair adhesive |
| Below-waterline hull repair | Not a default choice | Marine epoxy or approved sealant |
| Aquarium glass joint | Do not use ordinary contact cement | Aquarium-grade silicone |
| Pool liner repair | Do not improvise | Pool-liner repair system |
Submersion creates pressure and gives water time to enter microscopic edge gaps. Repeated flexing makes the problem worse. Marine products may also be designed for vinylizers, salt water, plasticizers, and flexible substrates that general-purpose contact cement does not handle well.
Which Materials Can Contact Cement Bond?
Contact cement commonly bonds laminate, veneer, leather, rubber, cork, fabric, and selected metals or plastics when the surfaces are clean and compatible. Contact cement performs poorly when the joint contains large gaps, weak dusty material, oily plastic, continuously damp wood, or a substrate attacked by the adhesive solvent.
| Material | Typical suitability | Preparation | Important limitation |
|---|---|---|---|
| Plastic laminate | High | Clean and lightly abrade backing | Requires full edge pressure |
| Veneer | High | Seal porous wood | Wood movement can cause peeling |
| Leather | High | Degrease and roughen lightly | Excess adhesive can stain edges |
| Rubber | High with correct formula | Abrade and clean | Plasticizers may weaken the bond |
| Metal | Moderate to high | Degrease and abrade | Heat and condensation matter |
| PVC or vinyl | Formula-dependent | Use vinyl-compatible adhesive | Solvent may soften the sheet |
| Expanded polystyrene foam | Often poor | Use foam-safe product | Solvent can dissolve foam |
| Glass | Limited | Clean completely | Rigid, smooth surface and edge stress |
| Concrete | Poor for general structural use | Remove dust and moisture | Porosity and alkalinity interfere |
The strongest bond is not always the most rigid bond. Leather, shoe soles, and flexible vinyl need an adhesive that moves with the materials. Epoxy may produce a stronger rigid joint but crack when a flexible substrate bends.
Contact Cement Compared With Alternatives
Contact cement is the best fit when a large flexible surface must bond without clamping. Polyurethane, epoxy, silicone, and cyanoacrylate adhesives become better choices when the joint needs gap filling, structural rigidity, immersion resistance, or precise small-area assembly.
| Adhesive | Water resistance | Flexibility | Gap filling | Clamp requirement | Best application |
|---|---|---|---|---|---|
| Contact cement | High, product-dependent | High | Poor | Usually none | Laminate and leather |
| Polyurethane glue | High to waterproof | Moderate | Moderate | Usually yes | Exterior wood |
| Two-part epoxy | High to waterproof | Low to moderate | High | Often yes | Rigid repairs |
| Silicone sealant | High after cure | Very high | High | Usually none | Sealing and movement joints |
| Cyanoacrylate | Low to moderate | Low | Very poor | Brief pressure | Small rigid repairs |
| Rubber cement | Low | High | Poor | Usually none | Temporary paper work |
Contact cement is not a sealant. A bond line can resist water while the exposed edge remains an entry path. For a countertop or panel, edge sealing may matter more than choosing a stronger adhesive.
Why Does Contact Cement Fail?
Contact cement usually fails because the surfaces were contaminated, the adhesive was joined too wet, the film was too thick, one surface received insufficient coverage, or the joint experienced heat and movement beyond its rating. Failure diagnosis should begin at the edge because moisture and peeling stress usually enter there first.
| Failure symptom | Likely cause | Corrective action |
|---|---|---|
| Edge peels cleanly | Insufficient pressure or contamination | Remove, clean, recoat, and roll |
| Bubbles under laminate | Trapped solvent or air | Lift if possible and allow proper flash-off |
| Soft, gummy film | Excess thickness or early assembly | Remove failed material and reapply thinly |
| Immediate misalignment | No spacers or dry layout | Replace the part; repositioning is unreliable |
| Wood panel lifts later | Moisture movement | Seal substrate and control moisture |
| Bond creeps near heat | Temperature exceeds rating | Use high-temperature adhesive |
| Plastic cracks or melts | Solvent incompatibility | Select a compatible formula |
| Corners release | Inadequate edge pressure | Rework edge and roll firmly |
An expert rule of thumb is to distrust a perfectly smooth-looking bond made from one heavy coat. Contact cement needs enough material to create continuity, but excess thickness delays carrier release and leaves a weaker rubber layer.
Another practical rule is to test the adhesive on the actual substrate, not merely on a sample from the same product category. Recycled plastic, coated leather, painted steel, and laminate backers can differ substantially in surface chemistry.
How Much Does Contact Cement Cost?
Typical retail pricing ranges from $5-$10 for a 60-120 milliliter tube, $15-$30 for a quart-sized can, and $45-$70 for a gallon, although brand, region, packaging, and specialty ratings change the final price. The adhesive cost is only part of the project because solvent-safe ventilation, rollers, surface cleaner, and replacement material may also be required.
| Package | Typical quantity | Typical retail range | Approximate use |
|---|---|---|---|
| Small tube | 60-120 mL | $5-$10 | Shoe, leather, and small repairs |
| Small can | 250-500 mL | $8-$18 | Medium craft and trim work |
| Quart can | About 950 mL | $15-$30 | Panels and repeated projects |
| Gallon can | About 3.8 L | $45-$70 | Workshop or production use |
| Marine specialty can | 500-950 mL | $20-$45 | Wet-service vinyl and repairs |
Coverage commonly falls near 50-60 square feet per quart on smooth, nonporous surfaces. Porous wood, rough leather, fabric, and waste from brushing can reduce coverage sharply, so buying by nominal volume alone can underestimate the required quantity.
FAQ
Is Contact Cement the Same as Rubber Cement?
No. Contact cement creates a strong, generally permanent bond when two dried adhesive films meet under pressure, while rubber cement is usually repositionable and easier to remove. Rubber cement suits temporary paper and craft work; contact cement suits laminate, leather, veneer, rubber, and other applications requiring higher immediate bond strength.
Is Contact Cement Good for Leather?
Contact cement is often very good for leather when the formula is approved for leather and the surfaces are clean, dry, and lightly roughened. Apply a thin coat to both sides, allow complete flash-off, and use edge pressure. Excess adhesive can stain exposed leather and create a stiff, visible ridge.
Can Contact Cement Bond a Shoe Sole?
A footwear-specific contact adhesive can bond many shoe soles because it remains flexible under repeated bending. General-purpose contact cement may work for a temporary repair, but sole materials can contain plasticizers or release agents that reduce adhesion. Clean and roughen both surfaces, then follow the footwear product’s cure instructions.
Is Contact Cement Stronger Than Super Glue?
Contact cement is generally better for large, flexible, or peel-prone surfaces, while cyanoacrylate super glue is better for small, rigid, closely fitting parts. Super glue forms a thin, brittle bond and has poor gap tolerance; contact cement tolerates movement but performs poorly across large gaps.
Can Contact Cement Be Removed?
Contact cement can sometimes be softened with a manufacturer-approved solvent, heat, or mechanical separation, but removal may damage laminate, paint, leather, foam, or plastic. Test the removal method in an inconspicuous area. Once a large panel has been fully bonded, replacement is often safer than aggressive solvent use.
When Should a Contact-Cement Bond Be Replaced?
Replace a contact-cement bond when edges lift repeatedly, the film becomes gummy, the substrate swells, bubbles spread, or water reaches an important joint. Do not rely on a patch over contaminated or degraded adhesive. Remove unstable material, correct the moisture or heat source, and rebuild the joint with a product rated for the service.
The Bottom Line
Contact cement is highly water-resistant after curing and can be effectively waterproof for laminate, leather, rubber, veneer, and similar indoor or sheltered applications. The answer to “is contact cement waterproof” becomes no for unverified continuous immersion, severe outdoor exposure, or joints subject to heat and structural movement. Choose a marine, exterior, polyurethane, epoxy, or sealant system when the product label and exposure demand it.