To remove contact cement, soften the cured rubber adhesive with a compatible remover or controlled heat, then lift it with a scraper and clean the remaining film. Work in small sections, test the substrate first, and keep solvents away from flames and heat. A small residue typically takes 20-60 minutes to remove.
Key Facts at a Glance
- Acetone removes contact cement quickly from many metals and some unfinished surfaces, but it can melt plastics and strip finishes.
- Citrus or soy adhesive removers work more slowly, usually requiring 15-45 minutes of dwell time.
- Heat softens thick contact cement, but heat guns can ignite solvent vapors, scorch wood, or warp plastic.
- Plastic scrapers protect laminate, paint, veneer, and acrylic better than razor blades.
- Contact cement residue must be removed completely before applying a new adhesive or finish.
- A spot test is mandatory on painted, coated, plastic, veneered, and finished wood surfaces.
Before You Start
Prepare the work area before opening a solvent. Contact cement removers can release flammable vapors, and adhesive residue can become harder to manage when spread across a large surface.
| Requirement | Typical amount or specification | Why it matters |
|---|---|---|
| Work sections | 30 x 30 cm, or 12 x 12 inches | Limits evaporation and smearing |
| Small-project time | 20-60 minutes | Covers one edge, patch, or countertop section |
| Large-area time | 4-8 hours | Covers a room, subfloor, or extensive panel |
| Plastic scraper | 1-2 flexible blades | Reduces gouging on finished surfaces |
| Chemical remover | 250-500 mL for small work | Provides repeated applications |
| Nitrile gloves | 4-8 mil thickness | Protects against brief solvent contact |
| Eye protection | Indirect-vent goggles | Prevents splash exposure |
Open doors and windows where practical, and remove cigarettes, pilot lights, heaters, grinders, and other ignition sources. A box fan can improve airflow only when it does not create a spark hazard; place the fan to move vapors outdoors rather than blowing them across the work area.
Read the product Safety Data Sheet before use. A disposable dust mask does not protect against solvent vapor, and an organic-vapor respirator is appropriate only when the cartridge, fit, exposure limits, and local regulations support its use. Stop work if you develop headache, dizziness, nausea, eye irritation, or breathing discomfort.
Identify the Substrate First
The substrate determines the safest removal method. Acetone may clean bare steel but damage ABS plastic, lacquer, vinyl, paint, acrylic, and some laminates. When the material is unknown, treat it as solvent-sensitive and begin with dry mechanical removal.
| Substrate | First method | Use cautiously | Avoid initially |
|---|---|---|---|
| Bare steel | Plastic or metal scraper, acetone | Naphtha, heat | Prolonged wet soaking near ignition |
| Glass | Razor at low angle, acetone | Citrus remover | Abrasive pads that scratch |
| Finished wood | Plastic scraper, citrus remover | Mineral spirits | Flooding, aggressive sanding |
| Unfinished wood | Scraping, sanding | Acetone in small areas | Deep soaking that causes staining |
| Laminate | Plastic scraper, mild remover | Short solvent contact | Razor blades and heat |
| ABS, PVC, acrylic | Scraping, mild remover spot test | Ethyl acetate only after testing | Acetone and strong ketones |
| Concrete | Floor scraper, soy remover | Mineral spirits | Dust-producing dry grinding indoors |
| Painted drywall | Gentle scraping | Remover only after testing | Saturating the paper face |
Which Removal Method Works Best?
The best method is the least aggressive option that softens the adhesive without damaging the substrate. Use mechanical scraping for fragile plastics and finished surfaces, a commercial remover for large or residue-heavy areas, acetone for compatible bare materials, and controlled heat for thick layers.
| Method | Typical dwell or working time | Best substrates | Main risk |
|---|---|---|---|
| Plastic scraping | Immediate, repeated passes | Laminate, paint, plastic, veneer | Gouging or spreading residue |
| Acetone | 30 seconds-3 minutes | Bare metal, glass, some concrete | Fire, finish or plastic damage |
| Mineral spirits or naphtha | 5-15 minutes | Some finished wood and metal | Residue, flammability |
| Citrus remover | 15-45 minutes | Finished wood, laminate after testing | Oily film and staining |
| Soy remover | 20-60 minutes | Large floors and porous surfaces | Slow action and cleanup film |
| Heat gun | 10-20 seconds per small spot | Thick residue on metal or wood | Fire, scorching, warping |
| Sanding | Immediate | Bare wood and concrete | Dust and substrate removal |
Do not assume a product labeled “adhesive remover” is safe for every plastic or finish. Solvent blends vary substantially, so the label and Safety Data Sheet are more reliable than the product category.
Step-by-Step: Remove Contact Cement
Step 1: Remove Loose Adhesive
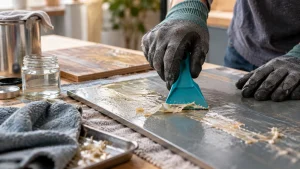
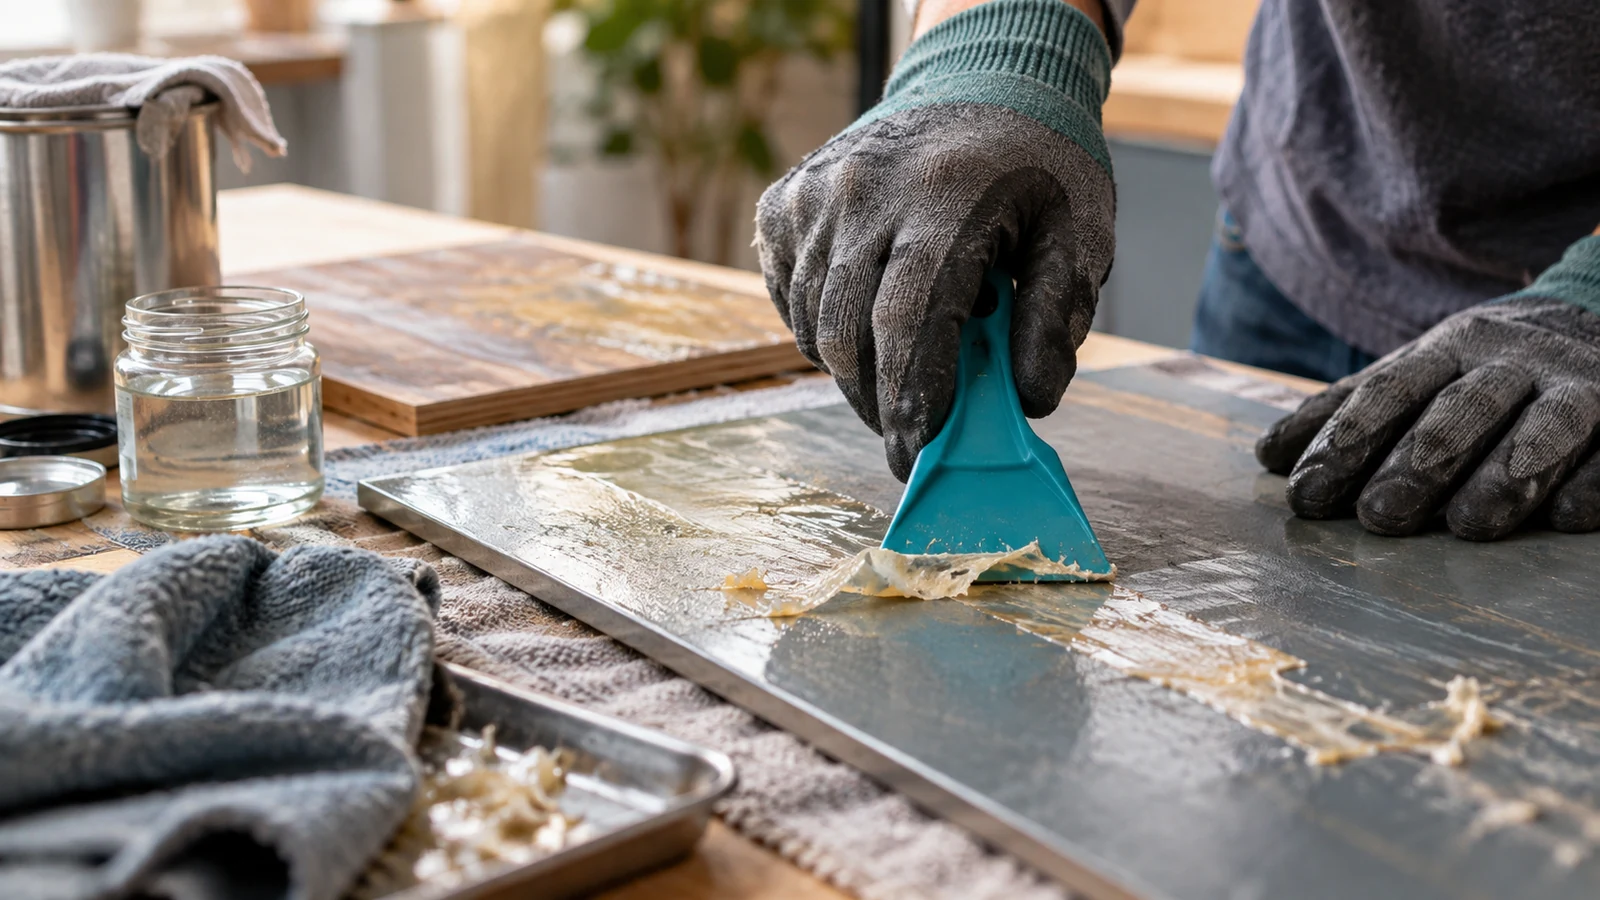
Lift thick ridges, flakes, and edges with a plastic putty knife. Hold the blade at approximately 20-30 degrees and push in the direction that separates adhesive from the substrate rather than cutting into the surface.
For metal or concrete, a flexible steel scraper can remove heavy deposits. Use a plastic blade on laminate, vinyl, paint, veneer, acrylic, and finished wood.
You will know it worked when: thick material comes away in curls or chips, leaving a thin film rather than a large raised mass.
Common mistake: starting with solvent while a 2-5 mm layer remains. Thick adhesive consumes remover and produces a sticky slurry.
Step 2: Test the Remover
Apply a small drop to an inconspicuous area, then wait the intended dwell time. Check for softening, color transfer, swelling, dullness, tackiness, or a change in gloss.
Test a hidden edge, underside, or offcut. On laminate or painted wood, inspect the area after it dries because some damage appears only after the solvent evaporates.
You will know it worked when: the adhesive softens but the substrate keeps its original color, gloss, texture, and dimensions.
Common mistake: testing only for immediate discoloration. Plastic and finish damage can develop after several minutes of contact.
Step 3: Apply Remover to a Small Section
Work on a 30 x 30 cm section. Apply enough remover to keep the adhesive visibly wet, but do not flood porous wood, drywall, veneer, or joints.
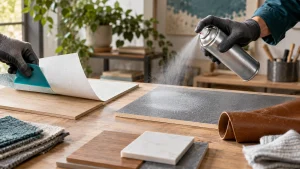
For fast-evaporating acetone, use a solvent-dampened cloth or controlled application rather than coating a large area. Citrus and soy products can usually be brushed on more generously.
You will know it worked when: the adhesive changes from hard and glossy to soft, dull, stringy, or jelly-like.
Common mistake: wiping immediately. A solvent that has not penetrated the rubber film mainly moves the adhesive around.
Step 4: Allow the Correct Dwell Time
Use the product label as the controlling instruction. Typical working ranges are 30 seconds-3 minutes for acetone, 5-15 minutes for mineral spirits or naphtha, and 15-60 minutes for citrus or soy removers.
Covering a small treated section with plastic film can slow evaporation, but do not cover a solvent that the manufacturer warns must remain ventilated. Never cover an area containing heat, an ignition source, or an incompatible plastic.
You will know it worked when: a plastic scraper removes a soft ribbon with moderate pressure.
Common mistake: increasing the dwell time indefinitely. Longer exposure may damage the substrate without improving removal.
Step 5: Lift the Softened Adhesive
Push the scraper under the softened film and lift it into a disposable container. Use short strokes and a clean edge. Wipe the scraper frequently so dissolved adhesive does not return to the surface.
On wood grain, scrape with the grain. On laminate, push toward an exposed edge instead of forcing the blade beneath the decorative layer.
You will know it worked when: the surface is mostly visible and the removed material collects rather than smears.
Common mistake: rubbing with a cloth before lifting. Rubbing spreads softened contact cement into a larger, thinner film.
Step 6: Remove the Residual Film
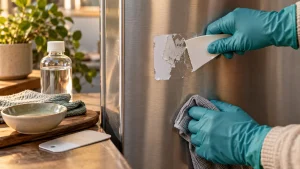
Apply a small amount of fresh remover to a clean cloth, not directly to a delicate surface. Blot or wipe in one direction, changing to a clean section of cloth as soon as it becomes tacky.
A nylon brush can agitate textured metal or concrete. Avoid steel wool on glossy finishes, laminate, plastic, and polished metal because it can leave permanent scratches.
You will know it worked when: a dry fingertip or clean white cloth no longer picks up adhesive, discoloration, or tack.
Common mistake: using one saturated rag for the entire job. That transfers dissolved adhesive back onto the surface.
Step 7: Wash, Dry, and Inspect
Follow the remover label for final cleaning. Some products require mild detergent and water; others require a compatible solvent wipe. Do not mix solvents, bleach, ammonia, or unknown cleaners.
Allow the surface to dry fully. Typical drying takes 30 minutes-24 hours, depending on porosity, temperature, airflow, and the amount of remover used.
You will know it worked when: the surface is dry, odor has reduced substantially, and a clean cloth remains free of adhesive.
Common mistake: applying new adhesive over solvent residue. The remaining film can prevent bonding, soften finishes, or create bubbles.
Which Solvent Should You Choose?
Acetone is the fastest common option for compatible bare surfaces, while citrus and soy removers provide more working time with less rapid evaporation. Neither category is universally safe: acetone damages many plastics, and citrus products can leave oils that require additional cleaning.
| Remover | Typical price | Action speed | Compatible examples | Important limitation |
|---|---|---|---|---|
| Acetone | $10-$30 per gallon | 30 seconds-3 minutes | Bare metal, glass, some concrete | Melts or crazes many plastics |
| Mineral spirits | $12-$25 per gallon | 5-15 minutes | Some wood finishes, metal | Leaves an oily film |
| Naphtha | $15-$30 per gallon | 2-10 minutes | Metal, some finished wood | Highly flammable vapors |
| Citrus remover | $15-$30 per quart | 15-45 minutes | Many finished surfaces after testing | Requires degreasing |
| Soy remover | $20-$45 per gallon | 20-60 minutes | Floors, concrete, large areas | Slow and often residue-forming |
| Ethyl acetate blend | $10-$25 per quart | 1-10 minutes | Selected plastics after testing | Can soften coatings and plastics |
Nitromethane appears in some specialized adhesive removers, but it is not a sensible first choice for household work. Its toxicity, flammability, and regulatory handling requirements outweigh its potential speed for most small projects.
How Do You Remove Contact Cement From Specific Surfaces?
Wood and Veneer
Use a plastic scraper first, followed by a citrus or soy remover tested on an inconspicuous area. Keep liquid exposure brief because veneer can lift, stain, or delaminate when solvent reaches an edge or weak glue line.
For bare wood, scrape and sand only after the adhesive has been reduced to a thin film. Start with 120-150 grit abrasive, then finish with 180-220 grit if the surface will be coated. Sanding through veneer can expose the substrate within minutes.
Laminate and Finished Countertops
Use a plastic scraper and small amounts of a labeled laminate-safe remover. Do not use a razor at a steep angle, abrasive powder, or a heat gun near a seam.
Contact cement often bonds the laminate to the substrate, so removal from the top may expose damage or loosen the decorative layer. If the goal is to remove an entire laminate sheet, warm the sheet gradually from an exposed edge and use a broad putty knife; do not pull upward sharply.
Plastic, Vinyl, and Acrylic
Begin dry. Acetone, lacquer thinner, MEK, and some adhesive removers can dissolve, haze, swell, or crack plastic. A cotton swab spot test is more controlled than pouring solvent onto the part.
If the adhesive is thin, scrape with a plastic card and use a mild, manufacturer-approved remover. Stop immediately if the surface becomes tacky, cloudy, soft, or colored.
Metal and Glass
Bare metal and glass tolerate more aggressive methods than most finished surfaces. On glass, a lubricated razor held nearly flat can remove cured ridges, followed by acetone or a glass-safe cleaner.
On painted or powder-coated metal, treat the coating as the substrate. Acetone may remove the adhesive and the paint together, so test first.
Concrete and Masonry
Use a floor scraper for raised adhesive, then apply a soy or citrus remover when dust control matters. Remove softened residue with absorbent pads and follow the product’s required wash procedure.
Grinding can work on bare concrete, but it creates adhesive-containing dust and may polish or gouge the slab. Use dust extraction and the equipment manufacturer’s respiratory controls; do not dry-grind unknown adhesive indoors.
What If the Adhesive Becomes a Sticky Smear?
A sticky smear usually means the remover is evaporating too quickly, the section is too large, or the cloth is redepositing dissolved adhesive. Stop spreading it, scrape off the wet mass, apply fresh remover to a smaller section, and lift the softened material with clean absorbent wipes.
| Problem | Likely cause | Recovery |
|---|---|---|
| Adhesive remains hard | Insufficient dwell or incompatible remover | Re-test with a labeled product |
| Adhesive becomes stringy | Partial softening | Add a short dwell period, then scrape |
| Surface becomes cloudy | Solvent attack on coating or plastic | Wipe off, stop solvent use, dry |
| Residue spreads widely | Rubbing instead of lifting | Scrape, change cloth, reduce section size |
| Wood darkens | Excess liquid or dissolved finish | Stop, blot, allow drying, assess finish |
| Heat produces smoke | Overheating or scorching | Stop heat, ventilate, inspect for fire |
| New adhesive will not bond | Solvent or oily residue remains | Clean, dry, lightly abrade if suitable |
Expert Rules That Prevent Damage
- Fresh remover is more effective than more force. A contaminated rag can spread adhesive even when the correct solvent is present.
- Heat and solvent are sequential methods, not simultaneous methods. Never use a heat gun after applying flammable solvent until vapors have fully cleared and the surface is dry.
- The substrate usually fails before cured contact cement does. A finish, veneer, or plastic can be permanently damaged while the adhesive remains removable.
- Large-area removal should be divided into manageable zones. A 12-inch square section is easier to control than an entire countertop or floor.
Is Heat Safer Than Solvent?
Heat avoids solvent exposure but is not automatically safer. A heat gun can soften thick contact cement in 10-20 seconds, yet it can ignite residue, scorch wood, deform plastic, loosen laminate, or activate hidden flammable vapors.
Use the lowest effective setting and keep the nozzle moving 5-10 cm above the adhesive. Warm a small patch, test it with a scraper, and repeat rather than concentrating heat in one place. A household iron should not be used directly on unknown adhesive because it can transfer residue to the soleplate and create a broad hot surface.
Do not use heat on solvent-wet adhesive, near flammable liquids, over concealed wiring, or on materials that can warp. Heat is most suitable for thick deposits on bare metal or robust wood where the finish is already being removed.
Removing Contact Cement From Skin or Clothing
Do not use acetone, gasoline, lacquer thinner, or nitromethane on skin. For skin, wipe excess adhesive without pulling bonded skin apart, wash with warm soapy water, and use a skin-safe oil or petroleum jelly to loosen residue gradually.
For clothing, scrape off cured material, place the garment on an absorbent surface, and follow the care label and solvent manufacturer’s instructions. Many solvents can spread stains, remove dye, or create a flammable garment. Do not put solvent-contaminated clothing in a dryer.
Seek medical advice or contact poison control after eye exposure, significant inhalation, swallowing, or skin irritation. If two body parts are bonded, do not force separation or use a blade.
Time, Cost, and Waste
Typical small-project costs range from $10-$50, excluding replacement finish or laminate. A single edge may take 20-60 minutes, while a room-sized subfloor can require 4-8 hours depending on thickness, porosity, access, and cleanup.
| Project | Typical area | Typical duration | Typical material cost |
|---|---|---|---|
| Countertop edge | 0.2-0.5 m² | 20-60 minutes | $10-$25 |
| Cabinet panel | 0.5-2 m² | 45-120 minutes | $15-$35 |
| Metal component | 0.1-1 m² | 15-60 minutes | $10-$25 |
| Concrete patch | 1-5 m² | 1-3 hours | $20-$60 |
| Room subfloor | 10-30 m² | 4-8 hours | $60-$200 |
Store solvent-soaked rags in a closed, approved metal waste container where required by local fire rules. Do not pile them in a bin, leave them indoors, or dispose of liquid solvent down a drain. Follow the product label and local household hazardous-waste requirements.
Preparing the Surface for New Adhesive
A surface is ready for new contact cement only when it is clean, dry, stable, and free from visible adhesive film. Solvent odor alone does not prove that the surface is clean, and a glossy appearance can hide a thin rubber layer.
Run a clean white cloth over the surface. If it picks up tack, color, oil, or rubber particles, continue cleaning. For compatible materials, light abrasion can improve mechanical keying, but remove all sanding dust afterward and follow the new adhesive manufacturer’s instructions.
Do not apply contact cement until the surface and surrounding material are within the product’s stated temperature and moisture range. New adhesive will not reliably bond to silicone, oily residue, loose paint, dusty concrete, or softened plastic.
FAQ
Can WD-40 remove contact cement?
WD-40 may loosen some adhesive residue, but it is not a reliable primary remover for cured contact cement. Its oily film can interfere with a new bond and require degreasing afterward. Use a labeled adhesive remover or the substrate-appropriate solvent, then clean the surface thoroughly before re-bonding.
Does vinegar dissolve contact cement?
Vinegar does not reliably dissolve cured rubber-based contact cement. Acetic acid may help with some water-soluble residues, but cured contact adhesive generally requires mechanical removal, a compatible organic solvent, or controlled heat. Vinegar is not a substitute for an adhesive remover.
Can rubbing alcohol remove contact cement?
Isopropyl alcohol may soften a thin, fresh residue, but it usually works slowly on fully cured contact cement. It can also affect shellac, some paints, inks, and plastics. Test it first, use a small amount, and switch methods if the adhesive remains hard after a short dwell.
Will sanding remove contact cement from wood?
Sanding removes thin contact cement film from bare wood, but it can clog abrasive paper and remove more wood than adhesive. Scrape thick deposits first, use 120-150 grit for the remaining film, and finish with finer abrasive only after the adhesive has disappeared.
How do you know all contact cement is gone?
Contact cement is generally gone when the surface has no raised material, tack, rubbery drag, dark translucent film, or transfer onto a clean white cloth. Let the surface dry completely before judging it, because wet solvent can temporarily hide residue and alter the surface appearance.
When should you replace rather than clean the surface?
Replace or refinish the substrate when solvent has dissolved its coating, heat has warped it, veneer has delaminated, or removal would remove excessive material. A damaged laminate, thin veneer, or painted drywall face may cost less to replace than to restore after aggressive adhesive removal.
The Bottom Line
To remove contact cement safely, identify the substrate, scrape away thick adhesive, test the mildest effective remover, work in 30 x 30 cm sections, and lift softened residue rather than spreading it. Use acetone only on compatible materials, reserve heat for dry adhesive, and confirm that the surface is clean and dry before applying another finish or adhesive. The correct method for how to remove contact cement is determined more by substrate compatibility than by solvent strength.