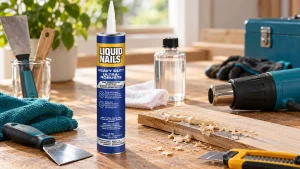
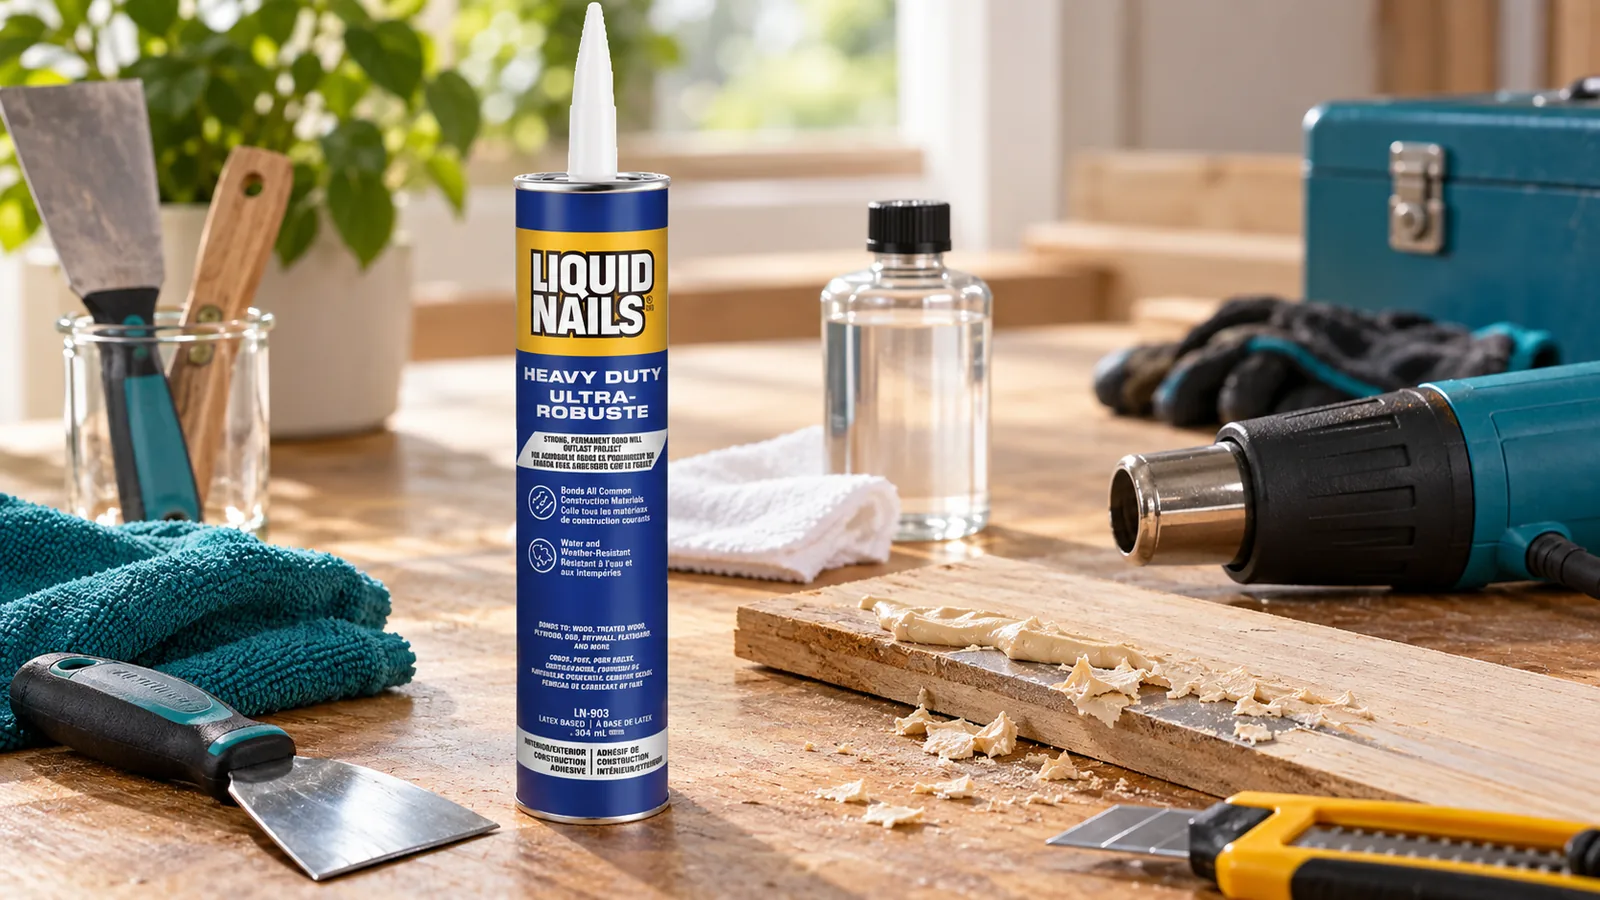
Liquid Nails is a construction adhesive that bonds materials through solvent evaporation, water loss, or moisture curing. To remove it safely, identify whether the bead is wet or cured, protect the substrate, then use controlled scraping, cutting, heat, or a compatible remover rather than attacking the surface blindly.
Key Facts / Quick Answer
Remove wet adhesive within minutes with a disposable scraper and the cleaner listed on the cartridge label.
Cured adhesive usually requires mechanical separation first; solvents rarely dissolve every formulation completely.
A low heat gun setting can soften some standard adhesives near 140°F (60°C), but heat can melt PVC, acrylic, fiberglass, paint, and laminate.
Typical household removal costs range from $5-$15 for hand tools to $20-$50 for a heat gun or specialty products.
Drywall often loses its paper facing or paint. Removing the adhesive and repairing the substrate can be safer than preserving the original wall.
Test every chemical and method in an inconspicuous 1-inch area before treating the visible surface.
What Is Liquid Nails?
Liquid Nails is a brand family of high-strength construction adhesives, not one universal chemical. Products may use water-based latex, solvent-based synthetic rubber, polyurethane, or hybrid polymer chemistry, so the cartridge label and Safety Data Sheet are more reliable than the brand name alone.
Construction adhesive fills small gaps and grips porous materials such as lumber, drywall, masonry, and fiber-cement board. After curing, the adhesive forms a flexible or rigid polymer mass that mechanically keys into surface pores. A thin adhesive film can be harder to remove cleanly than a thick bead because a scraper has less room to get underneath.
How curing changes removal
Fresh adhesive is usually easier to lift because the carrier has not fully evaporated or reacted. Cured adhesive has greater cohesion, meaning the mass may tear internally before it releases from the substrate.
| Adhesive condition | Typical appearance | Best first action | Typical working time |
|---|---|---|---|
| Wet latex | White or off-white, creamy | Scoop, wipe, then use water if label permits | 5-30 minutes |
| Wet solvent-based | Tan, gray, or amber, stringy | Scoop, ventilate, use label-approved cleaner | 5-20 minutes |
| Partially cured | Skin on surface, soft center | Slice the skin and scrape in sections | 20 minutes-24 hours |
| Fully cured | Rubberlike, hard, or brittle | Cut, scrape, soften, or abrade | 15 minutes-several hours |
Do not assume that a water-based adhesive remains water-soluble after curing. Water may remove the uncured carrier while leaving the polymer skeleton attached.
How to Choose a Removal Method
The substrate determines the safest technique. A concrete floor can tolerate aggressive shaving, while painted drywall may require a thin residue layer, patching compound, and repainting instead of complete adhesive extraction.
Start with the least destructive method that can reach beneath the bond. If the attached object must be saved, separate the object from the adhesive with a wire or oscillating tool; if the surface must be saved, sacrifice the adhesive and sometimes the paint layer.
Removal methods compared
| Method | Best surfaces | Typical cost | Typical time | Main risk |
|---|---|---|---|---|
| Plastic or metal scraping | Tile, glass, wood, masonry | $3-$15 | 10-30 minutes | Scratches or gouges |
| Oscillating tool or flush cutter | Wood, trim, thick beads | $40-$150 tool | 5-20 minutes | Cutting into substrate |
| Heat gun, low setting | Masonry, bare metal, some wood | $20-$50 | 10-30 minutes | Scorching or melting |
| Adhesive remover gel | Tile, stone, metal | $10-$30 | 1-24 hours | Finish or coating damage |
| Wire or piano-wire cutting | Mirrors, panels, trim | $5-$20 | 15-60 minutes | Edge chips and friction heat |
| Sanding or grinding | Concrete, raw lumber | $10-$80 | 10-45 minutes | Dust and surface removal |
A practical decision sequence
- Read the cartridge or product data sheet and identify the formulation.
- Check whether the adhesive is wet, rubbery, or fully hard.
- Decide whether the object, the substrate, or both must be preserved.
- Score the adhesive at its edges with a sharp utility knife.
- Insert a plastic scraper or thin pry tool into the scored edge.
- Apply controlled force while protecting the surface with a sacrificial shim.
- Escalate to heat, chemical treatment, cutting, or abrasion only after a small test.
- Remove the final film, clean the substrate, and inspect before painting or bonding.
How to Remove Wet Liquid Nails
Wet Liquid Nails should be lifted rather than smeared. Scoop thick material with a putty knife, place it in disposable paper or a sealed waste container, and use only the cleanup agent specified for that product.
For water-based products, a damp cloth may work before the adhesive skins over. Change cloths frequently because rubbing with a contaminated cloth spreads adhesive into pores and enlarges the cleanup area. Solvent-based products require ventilation, chemical-resistant gloves, and a compatible cleaner.
| Wet adhesive location | First tool | Possible cleaner | Avoid |
|---|---|---|---|
| Painted drywall | Plastic scraper | Water if label permits | Saturating drywall paper |
| Finished wood | Plastic scraper | Label-approved cleaner | Acetone without testing |
| Ceramic tile | Plastic scraper | Warm water or mineral spirits | Metal blade on glossy glaze |
| Bare metal | Razor or scraper | Mineral spirits if compatible | Open flame |
| Glass | Razor scraper | Manufacturer-approved solvent | Scraping at a steep angle |
| PVC or acrylic | Plastic scraper | Mild soap first | Heat gun and strong solvents |
Wipe from the clean edge toward the adhesive, not across the adhesive and back onto the clean surface. Allow the area to dry fully before deciding whether residue remains.
How to Remove Cured Adhesive From Drywall
Cured construction adhesive on drywall is rarely removable without some paper or paint loss. The least damaging approach is to slice away the bulk, shave the remaining high spots, seal exposed paper, and skim-coat the area.
Hold a sharp utility knife nearly parallel to the wall and cut the bead into manageable sections. Use a stiff plastic scraper rather than levering hard against the gypsum board. If the adhesive has pulled off the paper, stop trying to reach a perfectly glue-free surface.
Drywall repair sequence
- Remove raised adhesive until the wall is close to flat.
- Trim loose paper with a sharp blade.
- Brush away dust without wetting the exposed gypsum.
- Apply a penetrating drywall sealer or shellac-based primer to exposed paper.
- Skim with joint compound in thin layers, allowing each layer to dry.
- Sand with 120-180 grit paper and prime before painting.
A typical small repair takes 30-90 minutes of labor plus drying time. Painting directly over oily or solvent-treated residue can cause fisheyes, bubbling, or peeling, so the surface must be clean, dry, and appropriately primed.
How to Remove It From Wood
Wood tolerates more mechanical work than drywall, but finished wood can lose stain, varnish, or paint. On unfinished framing, cut the bulk with a chisel held nearly parallel to the grain, then scrape or sand the remaining film.
For furniture, trim, or flooring, begin with a plastic razor or sharpened card. A heat gun on a low setting may soften some adhesive, but keep it moving and stop if the finish becomes glossy, dark, or tacky.
| Wood condition | Recommended approach | Typical finish | Repair concern |
|---|---|---|---|
| Raw framing | Chisel, scraper, belt sander | 10-30 minutes | Gouging grain |
| Painted trim | Plastic scraper, mild remover test | 20-60 minutes | Paint lifting |
| Varnished wood | Manual scraping only at first | 30-90 minutes | Clouding or soft finish |
| Hardwood flooring | Flush-cut, scraper, finish repair | 30-120 minutes | Finish and board damage |
The grain direction matters. Cutting across the grain removes material quickly but leaves visible tracks that may require planing or sanding across a larger area.
How to Remove It From Concrete, Brick, and Masonry
Concrete and brick are usually the most forgiving substrates. Scrape thick beads with a cold chisel, shave thin films with a floor scraper, or use an angle grinder with a suitable abrasive attachment when dust control is available.
Mechanical removal is generally preferable to solvent soaking on porous masonry. Solvents can carry softened adhesive deeper into pores, creating a larger darkened area and complicating later coating or tile installation.
Use a dust shroud and a HEPA-rated vacuum when grinding indoors. Do not grind near flammable solvent vapors, and inspect the substrate afterward for cracks, spalling, or a sealed surface that may affect the next adhesive.
How to Remove Adhesive From Tile, Stone, and Glass
Tile and glass usually permit careful scraping, but the grout, glaze, sealant, or coating may not tolerate the same treatment. Use a new razor on glass at a low angle with a wetting solution, and use a plastic blade on polished stone until chemical compatibility is known.
Apply a specialty adhesive remover only after testing a hidden area. Covering a gel with plastic film can extend dwell time, but follow the product label because some removers require air exposure or prohibit plastic covering.
| Surface | Preferred tool | Chemical caution | Typical cleanup |
|---|---|---|---|
| Glazed ceramic | Plastic or single-edge scraper | Test on grout | Soap and water |
| Porcelain | Razor at low angle | Avoid abrasive powders | Neutral cleaner |
| Natural stone | Plastic scraper | Solvents may darken pores | Stone-safe cleaner |
| Tempered glass | Razor scraper | Keep blade flat | Glass cleaner |
| Mirror backing | Wire, not face scraping | Protect silvering | Dry cloth and mild cleaner |
Do not use a heat gun on a mirror unless the manufacturer permits it. Uneven heating can stress glass, damage backing, or separate a reflective coating.
How to Separate a Mirror or Panel Without Breaking It
Wire cutting is useful when Liquid Nails bonds a mirror, backsplash panel, or trim piece to a wall. The wire travels through the adhesive layer while plastic wedges maintain the opening and prevent the adhesive from closing behind the cut.
Protect the face with cardboard and painter’s tape. Start at an accessible corner, use a flexible cutting wire with handles, and keep the wire close to the panel rather than pulling it toward the wall. Advance in short strokes while adding wedges progressively.
The wire can generate friction heat. If resistance suddenly increases, stop and reposition rather than pulling harder. Excess force can crack glass, bend metal trim, or tear the wall behind the panel.
When Are Heat and Solvents Appropriate?
Heat and solvents are secondary methods, not universal fixes. Heat may soften thermoplastic or rubbery adhesive, while cured polyurethane and some hybrid polymers may remain largely unaffected; solvents may swell residue without dissolving the bond.
Use a heat gun only where the substrate and surrounding materials can tolerate it. Begin on low, keep the nozzle moving, and work on a 2-6 inch section. A typical target near 140°F (60°C) may soften some formulations, but the adhesive’s product chemistry and the substrate’s temperature limit matter more than a single threshold.
Chemical treatment requires equal caution. Mineral spirits can affect paint, varnish, rubber, vinyl, and some plastics. Acetone and lacquer thinner can rapidly damage acrylic, ABS, PVC, foam, and finished wood.
| Method | Typical dwell or exposure | Suitable target | Do not use first on |
|---|---|---|---|
| Low heat | 20-60 seconds per section | Masonry, bare metal | PVC, acrylic, fiberglass |
| Mineral spirits | 15 minutes-24 hours | Some cured solvent residue | Fresh paint, rubber |
| Petroleum jelly | 2-12 hours | Small residue spots | Surfaces to be painted |
| Specialty gel | 30 minutes-24 hours | Label-approved substrates | Unsealed porous surfaces |
| Citrus-based remover | 10-60 minutes | Selected hard finishes | Sensitive coatings |
Ventilate, eliminate ignition sources, wear eye protection and gloves, and read the Safety Data Sheet. Never mix removers, bleach, ammonia, or other household chemicals.
What Happens If the Adhesive Will Not Come Off?
If the bond will not release, the adhesive may be stronger than the substrate, fully cured, or chemically incompatible with the chosen remover. Continuing to increase force often causes substrate failure before adhesive failure.
Inspect the failure pattern. Adhesive left on both surfaces suggests internal tearing. Clean substrate on one side suggests the bond released there. Substrate fibers attached to the adhesive indicate that the wall, wood, or paper failed first.
Expert observations from field repairs
- A thin residue is often safer to seal than to chase. Removing the last 1/32 inch from drywall can create a repair larger than the original adhesive spot.
- Solvent dwell time is not the same as solvent effectiveness. A remover that softens the surface skin may make scraping messier without weakening the bond beneath it.
- A sharp scraper is safer than a dull one. Dull blades require more force, and sudden slips cause deeper gouges.
- Adhesive thickness changes the strategy. Thick beads can be sliced and peeled; thin films usually respond better to controlled scraping or light abrasion.
- If a replacement adhesive will be applied, every oily or solvent-treated residue must be removed because contamination can reduce the new bond.
Safety, Disposal, and Professional Help
Wear safety glasses, chemical-resistant gloves, long sleeves, and footwear that covers the toes. Provide cross-ventilation for solvent products, keep heat and sparks away from vapors, and use a respirator only when its cartridge is specifically rated for the contaminant and properly fitted.
Stop work and seek professional advice when the wall may contain asbestos-containing adhesive, the building predates local asbestos restrictions, lead paint is being disturbed, or removal involves a large mirror or overhead panel. Do not sand unknown old adhesive or paint until hazardous-material risks have been assessed.
| Situation | Typical DIY budget | Typical duration | Professional trigger |
|---|---|---|---|
| Small wet spot | $5-$15 | 10-20 minutes | Strong fumes or skin exposure |
| Drywall patch | $15-$40 | 1-3 hours plus drying | Large paper loss |
| Mirror separation | $15-$60 | 30-90 minutes | Large, heavy, or overhead mirror |
| Concrete grinding | $40-$100 | 30-120 minutes | Indoor dust or unknown coating |
| Multiple rooms | $50-$200 | 1-2 days | Hazardous-material uncertainty |
Dispose of solvent-soaked rags in accordance with local hazardous-waste rules. Do not leave them crumpled in a warm bin because some oil-based products can create a fire risk through heat buildup.
Preparing the Surface After Removal
The next finish determines the required cleanup standard. A bare masonry surface may accept minor staining, while paint, wallpaper, tile adhesive, or a new construction adhesive requires a clean, dry, mechanically sound surface.
Remove loose particles, wash only when the substrate can tolerate moisture, and allow adequate drying. Mineral-spirit residue may require a detergent wash approved for the surface, followed by clean-water wiping and complete evaporation.
| Intended follow-up | Required condition | Recommended final check |
|---|---|---|
| Repainting drywall | Flat, sealed, dust-free | Wipe test and primer test |
| Re-tile installation | Stable, clean, profiled | Water-break and bond test |
| New adhesive | Dry, oil-free, lightly roughened | Manufacturer compatibility check |
| Bare wood | No loose fibers or finish flakes | Sanding dust removed |
| Concrete coating | Sound, clean, profiled | Moisture and adhesion test |
A simple tape test can identify loose residue: press clean masking tape onto the area, burnish it, and remove it. Powder or flakes on the tape indicate additional cleaning or sanding is needed.
Frequently Asked Questions About how to remove liquid nails
Can vinegar remove cured Liquid Nails?
Vinegar is generally ineffective against fully cured construction adhesive. It may clean minor water-soluble contamination but will not reliably break the cured polymer bond. Use mechanical removal first, then select a substrate-compatible remover from the product label.
Can WD-40 remove construction adhesive?
WD-40 may lubricate a scraper and soften some residue, but it is not a universal adhesive remover. Its oily film can interfere with paint, caulk, tile adhesive, and new construction adhesive, so remove all petroleum residue with a compatible cleaner before refinishing.
How do you remove Liquid Nails from skin?
Wipe wet adhesive away promptly, wash with soap and warm water, and avoid forcing cured adhesive off with a blade. Do not use gasoline, lacquer thinner, or strong solvents on skin. Seek medical advice if irritation, burns, eye exposure, or persistent bonding occurs.
Will rubbing alcohol dissolve construction adhesive?
Rubbing alcohol may clean fresh residue from some hard surfaces, but it usually does not dissolve cured Liquid Nails. Alcohol can also damage shellac, some paints, plastics, and printed finishes. Test it in a hidden area and follow the adhesive manufacturer’s cleanup instructions.
Can you paint over a small amount of adhesive residue?
Paint should not cover glossy, oily, raised, or flexible residue. Scrape the area flat, remove contamination, seal porous damage with the appropriate primer, and perform a small adhesion test before painting the whole surface.
When should a construction adhesive removal job be replaced instead?
Replacement is often cheaper when the adhesive has permanently damaged drywall paper, a thin veneer, mirror backing, or a finished laminate. If preserving the attached panel is less valuable than repairing the substrate, remove the panel and plan for a controlled surface repair.
Conclusion
To determine how to remove liquid nails, identify the adhesive’s cure state and prioritize the substrate’s safety. Scrape or cut wet and cured beads first, reserve heat and chemicals for compatible surfaces, protect bond-line openings during wire cutting, and prepare the cleaned area according to its next finish.