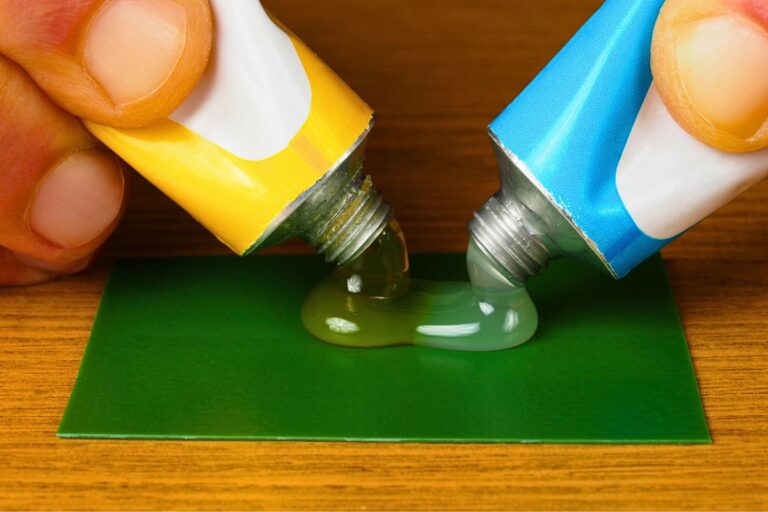
How to Use Epoxy Resin on Wood: Application Tips
Epoxy Tools and Supplies
To successfully work with epoxy resin on wood, you need the right tools and supplies. This section will guide you through the essential tools and additional supplies needed for your epoxy projects.
Essential Tools for Epoxy Projects
Having the right tools can make a big difference in the quality of your epoxy resin application. Here are the must-have items for most epoxy projects:
- Orbital (Electric) Sander: For prepping the wood surface.
- Electric Drill with Mixing Bit: Ideal for mixing larger batches of resin.
- Clean Paintbrush: Useful for applying seal coats.
- Propane Torch or Heat Gun: Essential for removing air bubbles from the epoxy coat.
- Stir Sticks: Necessary for mixing the epoxy components.
- Space Heaters: Useful for creating the ideal temperature conditions for epoxy application.
| Tool | Function |
|---|---|
| Orbital Sander | Surface preparation |
| Electric Drill | Mixing epoxy |
| Clean Paintbrush | Applying seal coats |
| Propane Torch | Removing air bubbles |
| Stir Sticks | Mixing resin |
| Space Heaters | Temperature control |
Figures courtesy UltraClear Epoxy.
Additional Supplies for Epoxy Work
Beyond the essential tools, several additional supplies can help you achieve better results when working with epoxy resin:
- Graduated Mixing Containers: To accurately measure epoxy and hardener.
- Tyvek Tape: For sealing surfaces and preventing leaks during application.
- Mod Podge: Useful for sealing embedded objects in your epoxy project.
- Silicone Caulk: Ideal for creating temporary dams on your work surface.
- Acrylic Caulk: For making raised edges on your epoxy project.
- Osmo TopOil: Recommended for maintaining food-safe wooden surfaces.
| Supply | Purpose |
|---|---|
| Graduated Mixing Containers | Accurate measurement |
| Tyvek Tape | Surface sealing |
| Mod Podge | Sealing embedded objects |
| Silicone Caulk | Creating temporary dams |
| Acrylic Caulk | Making raised edges |
| Osmo TopOil | Maintaining food-safe surface |
Figures courtesy UltraClear Epoxy.
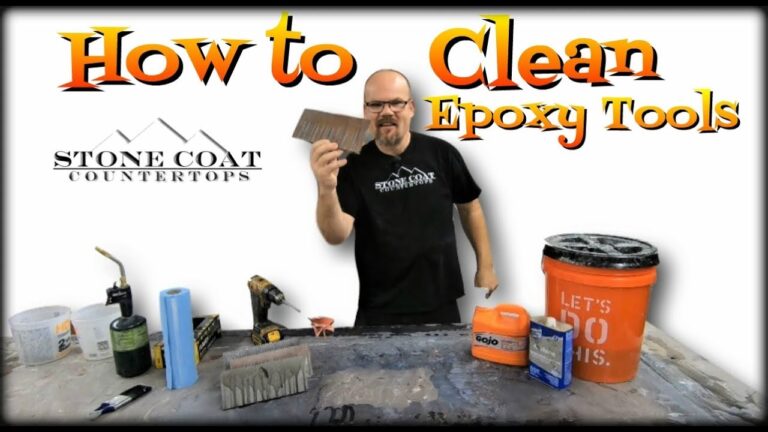
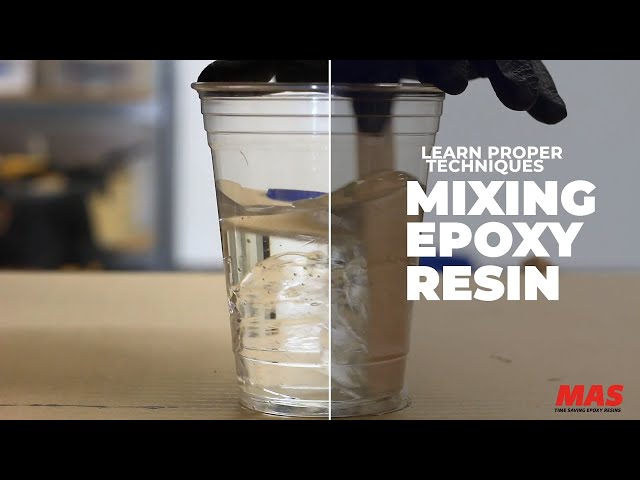
Using these tools and supplies will streamline your epoxy resin projects and ensure the best results. For detailed information on topics such as how to mix epoxy resin and how to clean epoxy resin off tools, refer to our other specialized articles.
Understanding and utilizing these essential tools and additional supplies will prepare you for a successful epoxy resin project on wood. Whether you are a seasoned home renovator or just starting out, having the right equipment can make all the difference.
Selecting Quality Epoxy Resin
Choosing the right epoxy resin is crucial for ensuring a successful project, whether you’re applying it on wood or other surfaces. Here, we will discuss the importance of using high-quality resin and how to identify substandard products.
Importance of High-Quality Resin
The quality of the epoxy resin significantly impacts the success of your project. High-quality resin ensures a durable, long-lasting finish that resists scratches, damage, and discoloration. Some key benefits of using premium epoxy resin include:
- Durability: High-quality epoxy resins like those from Industrial Clear are formulated to resist scratches and damage, achieving an impressive Shore D rating of 83 and a tensile strength of 7100 psi (ASTM D638).
- Resistance: Excellent resistance to high heat, oils, gasoline, bleach, most cleaners, and chemicals ensures a durable finish.
- Aesthetic Appeal: Good quality epoxy enhances the natural beauty of the wood while sealing it. However, it’s important to conduct a color test, as some wood types may darken after application.
Identifying Substandard Epoxy Products
Spotting low-quality epoxy resin is essential to avoid project failures. Here are some tips to help you identify substandard products:
- Misleading Claims: Dishonest resin sellers often use misleading claims and marketing tactics. Educate yourself on what constitutes high-quality epoxy to avoid falling for these tricks (UltraClear Epoxy).
- Regulatory Standards: Some manufacturers may sell low-quality epoxy resin obtained from regions with lenient regulations. Always check for regulatory compliance and certifications.
- Visual Inspection: Substandard epoxy can appear cloudy or yellow, indicating poor quality. High-quality epoxy should be crystal clear.
- Customer Reviews: Read reviews and feedback from other users to get an idea of the resin’s performance and reliability.
By selecting a high-quality epoxy resin, you can ensure that your project has a strong, durable finish that’s visually appealing. For more detailed information on how to use epoxy resin on wood, check out our comprehensive guide on how to use epoxy resin. Additionally, explore other related topics such as how to cure epoxy resin and how to clean epoxy resin off tools for more insights.
Preparing Wood for Epoxy
Surface Preparation for Wood
Before applying epoxy resin to wood, it is crucial to prepare the surface thoroughly. Ensuring your wood is clean, dry, and free from any contamination is essential for a successful application. Start by sanding the wood surface to create a smooth base. Sanding with the grain enhances the final appearance of the epoxy coating. Use fine-grit sandpaper for the best results.
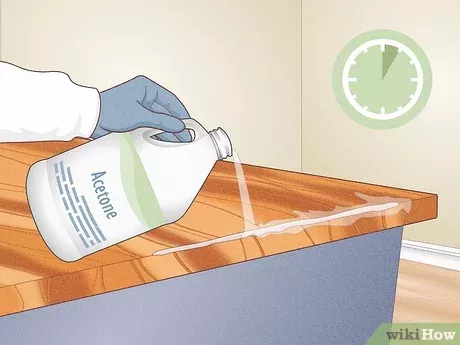
Next, remove all sanding dust and debris. You can use a vacuum, followed by a tack cloth to gather any remaining particles. For oily woods like teak, wipe down the surface with acetone and paper towels to remove any natural oils that may hinder epoxy adhesion (Epoxycraft).
Sealing the wood is also recommended. This helps prevent air bubbles, epoxy absorption, and allows you to use less epoxy overall. Seal cracks or voids with a clear-drying wood sealant or a thin coat of epoxy resin. This will create a barrier, preventing the wood from soaking up too much resin during the primary application.
Temperature Considerations and Surface Treatment
Maintaining proper temperature control is crucial when working with epoxy resin. The temperature of your workspace, wood, and epoxy should be similar to prevent issues such as outgassing and trapped air bubbles. The ideal temperature range for working with epoxy is typically between 70°F and 80°F.
| Factor | Ideal Temperature Range |
|---|---|
| Workspace | 70°F – 80°F |
| Wood | 70°F – 80°F |
| Epoxy Resin | 70°F – 80°F |
A stable, dry, and dust-free working environment is essential for achieving optimal results. Excessive humidity can affect curing times and the quality of the finish. Ensuring that your work area is well-ventilated and free of dust will help avoid imperfections in the epoxy surface (Epoxycraft).
By following these steps, you will be better prepared to apply epoxy resin to wood surfaces. For detailed guidance on application techniques and finishing, check out our articles on how to use epoxy resin and how to cure epoxy resin.
Applying Epoxy on Wood
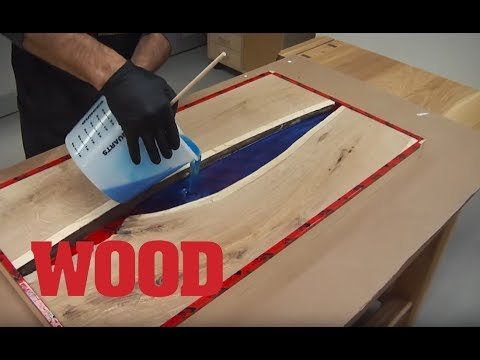
Successfully applying epoxy resin on wood requires a good understanding of the methods and techniques that ensure optimal results. Here, we explore the differences between applying thin and thick coats and the best techniques for achieving a flawless finish.
Thin Coats vs. Thick Coats
When it comes to epoxy application, it’s recommended to apply multiple thin coats rather than a single thick one. This approach helps you achieve an even, smooth surface without air bubbles or imperfections.
| Application Method | Benefits | Challenges |
|---|---|---|
| Thin Coats | Easier to control, reduces bubbles, smoother finish | Requires multiple applications, longer overall process |
| Thick Coats | Faster coverage, fewer applications | Higher chance of bubbles, uneven curing, potential for runs |
Applying thin layers ensures that each coat cures properly and bonds well with the previous one. This method also allows for better control over the final thickness and avoids common issues like runs or sags in the epoxy. For best results, you can use the ‘roll on and tip off’ method. This involves applying a thin layer using a foam roller and then ‘tipping off’ the surface with another roller to ensure it’s level and free from air bubbles (Epoxycraft).
Application Techniques for Optimal Results
Achieving a professionally finished epoxy surface involves a few key techniques:
- Surface Preparation:
- Ensure the wood surface is clean and dry.
- Sand the wood with the grain to enhance the finished look.
- For oily woods, like teak, remove surface oiliness with acetone and paper towels before applying epoxy.
- Mixing Epoxy:
- Follow the manufacturer’s instructions for mixing the resin and hardener.
- Mix thoroughly to ensure a consistent blend.
- Applying the Epoxy:
- Start with a thin layer of epoxy using a foam roller.
- Use the ‘roll on and tip off’ method outlined above to avoid air bubbles.
- Allow the first coat to cure properly before applying additional coats.
- For coarse-grain timbers, the first coat may lift wood fibers. Let it cure and then sand the surface smooth before applying the next coat (Epoxycraft).
- Curing:
- Ensure your working environment is dry and dust-free.
- Follow the epoxy resin’s recommended curing time, which can be found in our article on how long does it take for epoxy resin to dry.
By taking these steps, you can achieve a flawless and durable epoxy finish on wood. For additional tips, you can explore our guides on how to pour epoxy resin and how to mix epoxy resin. Taking the time to prepare and apply epoxy correctly will ensure a beautiful and lasting result for your woodworking projects.
Sanding Epoxy Resin
Sanding epoxy resin is an essential step in achieving a smooth, professional finish on your wood projects. The process requires proper techniques and tools to ensure the best results.
Sanding Methods for Epoxy
When it comes to sanding epoxy resin, there are two main methods to consider: wet sanding and dry sanding.
-
Wet Sanding: This method uses water alongside sandpaper or sanding tools to act as a lubricant, producing a finer, polished finish and reducing the amount of dust generated. Wet sanding helps to prevent clogging of sandpaper and offers better control over the sanding process.
-
Dry Sanding: A more traditional approach, dry sanding is efficient for the initial stages of sanding epoxy. However, it can create harmful dust particles that need to be managed with proper ventilation and protective gear. Using tools such as a random orbital sander with dust bag attachments can help keep your workspace clean and minimize dust.
Sanding Tips for Achieving Smooth Finish
Achieving a smooth, flawless finish on your epoxy resin projects involves following these sanding tips:
- Start with Coarse Grit Sandpaper: Begin with a coarser grit, such as 600-grit sandpaper, to remove any imperfections or high spots. As you progress, move towards finer grits to eliminate scratches and prepare the surface for polishing.
| Sanding Steps | Grit Level |
|---|---|
| Initial Sanding | 600-grit |
| Medium Sanding | 800-grit |
| Finishing Sanding | 1200-grit |
-
Use the Right Tools: A random orbital sander is highly effective for sanding epoxy resin, as it minimizes swirl marks and creates an even surface. Ensure that you use compatible sanding discs and maintain a consistent motion to avoid creating uneven areas (Red Label Abrasives).
-
Wet vs. Dry Sanding: Decide whether to use wet or dry sanding based on your project’s needs. For a cleaner and finer finish, opt for wet sanding. If you prefer a quicker initial sanding process, start with dry sanding.
-
Inspect for Scratches: After each sanding pass, inspect the surface for remaining scratches. Continue sanding with finer grits until all imperfections are removed and the surface is smooth.
-
Protect Your Health: Always wear a high-quality dust mask and safety goggles during the sanding process to protect your eyes and respiratory system from dust particles and harmful substances (Carved).
Following these tips will help you achieve a smooth, professional finish on your epoxy resin projects. For more information on epoxy resin, including how to use epoxy resin and how to sand and polish epoxy resin, explore our other guides.
Curing and Finalizing Epoxy
Understanding Epoxy Curing Process
Curing epoxy resin is a crucial step to ensure your project sets properly and reaches its full durability. The curing process involves a chemical reaction between the epoxy resin and hardener that transforms the liquid mixture into a solid state. For large projects, such as an epoxy resin table top, the drying time for the final flood coat is typically around 72 hours at a recommended temperature range of 75°F to 80°F (UltraClear Epoxy). After two weeks under these conditions, the epoxy will achieve its maximum strength and durability.
Different epoxy products may have varying cure times. For example:
| Epoxy Type | Cure Time | Conditions |
|---|---|---|
| Tabletop Epoxy | ~72 hours | 75°F to 80°F |
| Deep Pour Epoxy | 72 hours | 60°F to 85°F |
| Marine Epoxy | 1-4 days | Depends on hardener and temperature |
Keep a consistent temperature to ensure the epoxy cures correctly. Variations in temperature can affect the curing process and the finished product’s quality. For detailed advice on curing, check out our page on how to cure epoxy resin.
Final Steps for Durable Finish
After the epoxy has cured, it’s time to finalize your project to ensure a durable and smooth finish. Here are the steps to follow:
-
Inspect the Surface: Check for any imperfections, bubbles, or uneven areas. If you find any, light sanding can help even out the surface.
-
Sanding: Sanding provides a smooth and polished finish. Use fine-grit sandpaper (usually starting at 220-grit) and progress to higher grits for a finer finish. For detailed guidance, visit our article on how to sand and polish epoxy resin.
-
Cleaning: After sanding, clean the surface thoroughly to remove any dust. A damp cloth works well for this.
-
Polishing: Polishing the epoxy will give it a glossy shine. Use a suitable polisher for epoxy projects. For recommendations, see our guide on what are some good polishers for epoxy resin.
-
Protection: Apply a sealant to enhance the epoxy’s durability and protect it from UV rays. This step is especially useful for projects exposed to sunlight.
-
Final Inspection: Ensure the epoxy has a uniform and smooth appearance. Address any remaining imperfections as needed.
By following these steps, you can achieve a professional and lasting finish for your epoxy resin project. For more tips and tricks on working with epoxy resin, including advice on adding color pigments or dealing with spills, explore related articles such as how to add color pigment to epoxy resin and how to get epoxy resin off hands.

