Can You Paint Over Epoxy Resin: Painting Tips
Painting Over Epoxy Resin
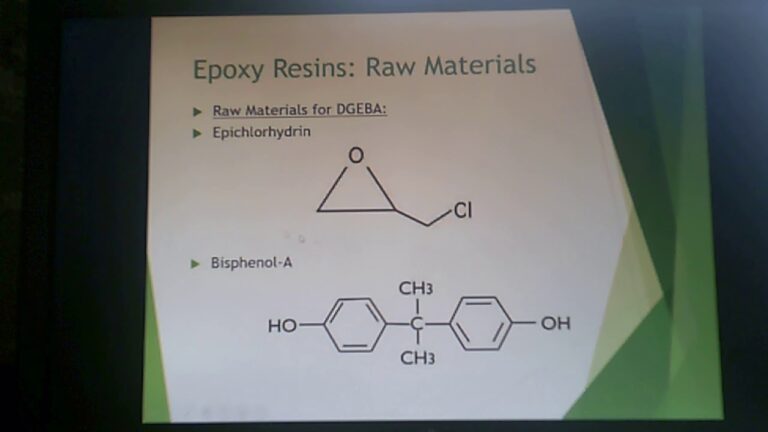
Understanding Epoxy Resin
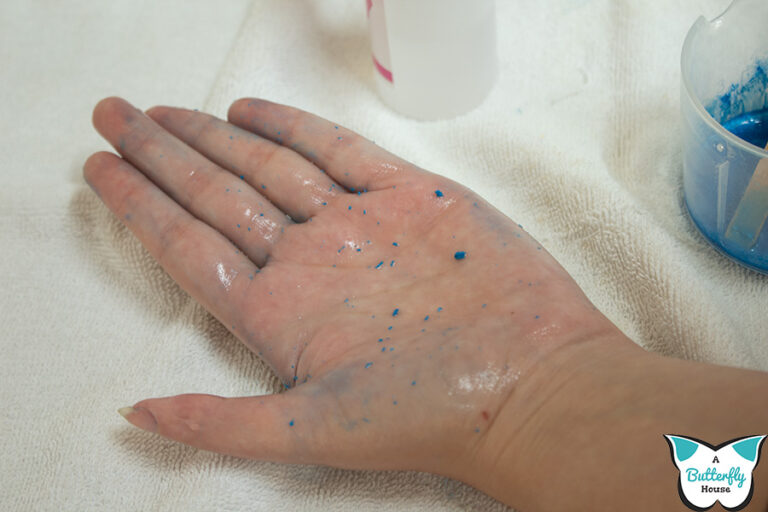
Epoxy resin is a versatile material commonly used for coatings, adhesives, and composite materials. It cures through an exothermic reaction, generating heat as it hardens. The amount of heat produced depends on the thickness of the epoxy mass and the exposed surface area (Entropy Resins). When using epoxy resin, it is crucial to avoid mixing large quantities in thick applications to prevent excessive heat, which can lead to issues like melting plastic cups or even burning your skin.
Epoxy resin’s durability and strong adhesive properties make it an excellent base for painting. Once cured, it forms a hard, smooth surface that can be painted over to achieve the desired finish. However, surface preparation and choosing the right primer are essential steps in ensuring successful paint adhesion.
Troubleshooting Resin Issues
Cloudy Surface: A cloudy appearance can occur if the resin has been poured cold or if the mold surface is frosty. To prevent cloudiness, ensure that both the resin and mold are at the appropriate temperature before mixing and pouring. This helps achieve a clear and smooth finish.
Air Bubbles: Air bubbles are a common problem when working with epoxy resin. These bubbles can disrupt the paint or affect the final appearance. To remove bubbles, use a heat gun during the curing process (ResinPro). Simply wave the heat gun over the surface to encourage bubbles to rise and burst.
Curing Issues: If the resin hasn’t hardened after the expected time, there could be multiple reasons (ResinPro). Ensure accurate mixing ratios of resin and hardener, and check whether environmental factors like temperature and humidity may be affecting the curing process.
Moisture Retention: Using colors not designed for epoxy resin can lead to moisture retention and curing problems (Resin Obsession). Always use pigments or dyes specifically formulated for epoxy to avoid such issues.
Common Issues Table
| Issue | Cause | Solution |
|---|---|---|
| Cloudy Surface | Cold resin or frosty mold | Ensure proper temperature of resin and mold (Resin Obsession) |
| Air Bubbles | Trapped air during mixing | Use a heat gun to remove bubbles (ResinPro) |
| Curing Issues | Improper resin-to-hardener ratio or environmental factors | Accurately measure and mix components, and control ambient conditions (ResinPro) |
| Moisture Retention | Using inappropriate colors | Use colors designed for epoxy resin (Resin Obsession) |
Proper understanding and troubleshooting of these issues can help in achieving a smooth and paint-ready epoxy surface. For additional guidance, explore our articles on how to use epoxy resin and how to clean epoxy resin.
Painting Epoxy Resin
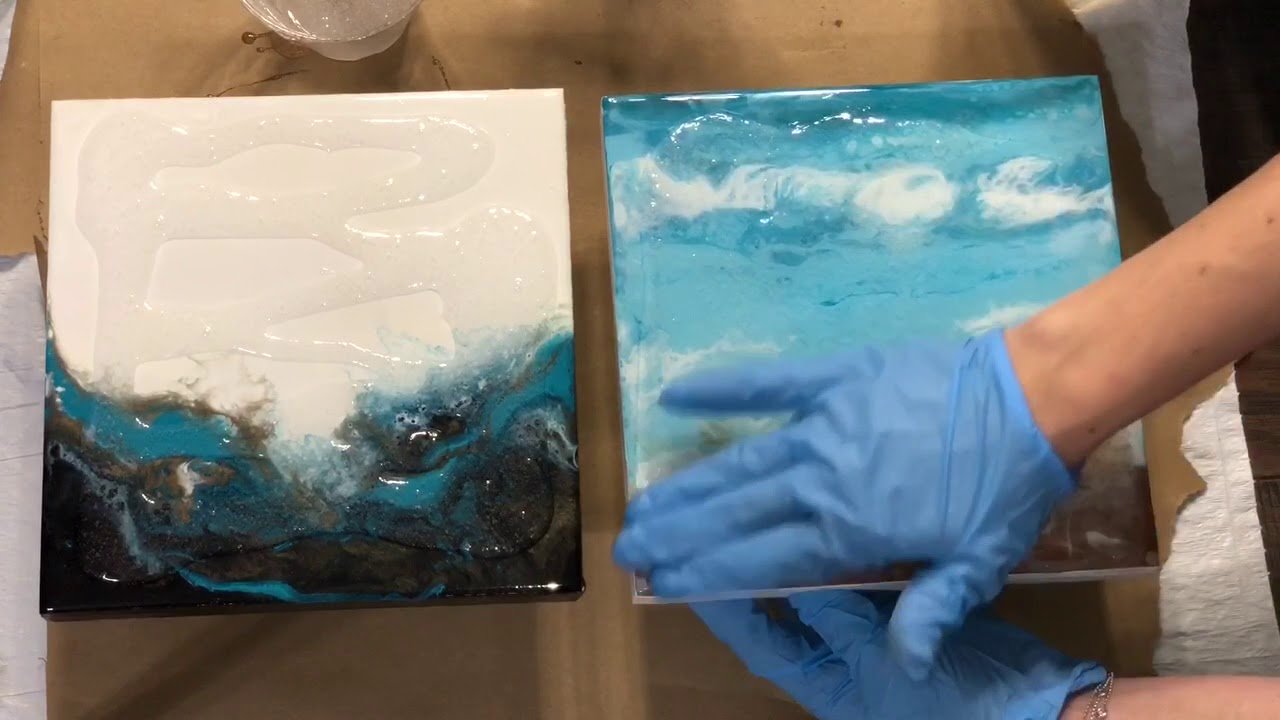
Painting over epoxy resin can be rewarding, but it requires careful preparation and the right techniques. This section explores the best practices for choosing the right primer, painting techniques, and achieving sharp details.
Choosing the Right Primer
Painting resin can be challenging because paint doesn’t adhere well to its surface. To ensure the paint sticks, you need to use a primer designed for resin. Primer generally comes in three colors: white, black, and grey (Resin Obsession).
- Primer Color: Your choice should depend on the color you intend to paint over it. White is ideal for bright colors, black for darker shades, and grey for neutral tones.
- Application Method: Spray primers are highly recommended as they help apply an even coat without impacting the resin’s appearance.
Painting Techniques
After priming your epoxy resin, selecting the right painting techniques is essential. Following these tips will help you achieve a smooth and long-lasting finish:
- Type of Paint: Acrylic paints are highly recommended for epoxy resin as they are durable and provide a vibrant finish.
- Drying Between Layers: Allow each layer of paint to dry thoroughly before adding another. This prevents smudging and ensures a smooth, even finish (Resin Obsession).
- Painting Tools: Use high-quality brushes or rollers to apply the paint evenly. Foam brushes are also a good choice for large surfaces.
Achieving Sharp Details
For projects that require straight lines or crisp edges, take advantage of tools like painter’s tape, stencils, or cut-outs.
- Masking Tape: Use painter’s tape to section off areas that need clean lines. Paint over the taped sections, wait for the paint to dry, and then carefully remove the tape to reveal sharp edges.
- Stencils and Cut-outs: For more intricate designs, use stencils. Secure the stencil in place and apply paint over it using a sponge or spray paint for best results.
By using these techniques, you ensure your resin projects have clean, professional-looking finishes.
Here is a summary of the key considerations when choosing a primer and mastering painting techniques:
| Consideration | Detail |
|---|---|
| Primer Color | White, Black, Grey |
| Primer Application | Spray primer preferred |
| Paint Type | Acrylic recommended |
| Drying Time | Essential between layers |
| Tools | High-quality brushes, rollers, foam brushes |
| Sharp Details Tools | Painter’s tape, stencils, cut-outs |
Painting epoxy resin can be a straightforward process if you follow these guidelines. For more information on preparing your surface or the best products to use, check out our related articles on how to prepare epoxy for painting, tools and materials, and avoiding common mistakes. If you’re also curious about how to add color pigment to epoxy resin, we have you covered!
Preparing Epoxy for Painting
Surface Preparation
Proper preparation is key to successfully painting over epoxy resin. Here are the steps you should follow:
- Clean the Surface: Ensure the epoxy surface is free from dust, dirt, and grease. Any contaminants can prevent the paint from adhering properly.
- Sand the Surface: Lightly sand the epoxy resin to create a slightly rough texture. This will help the primer and paint adhere better. Use fine-grit sandpaper for this process.
- Wipe Down: After sanding, wipe the surface with a clean, damp cloth to remove any sanding residue.
For more information on how to prepare epoxy resin for painting, you can learn about how to clean epoxy resin off tools.
Applying a Primer
Applying a primer is crucial to ensuring that your paint sticks well to the epoxy surface and provides a durable finish (Wood Emotions).
- Choose the Right Primer: Select a primer specifically designed for use on epoxy surfaces. Primers are available in white, black, and gray. Choose the color based on the final paint color you plan to use.
- Apply Evenly: Spray primers are often preferred because they can be applied evenly and help maintain the smooth look of the epoxy surface. Follow the manufacturer’s instructions for drying times and application techniques.
| Primer Type | Color Options | Application Method |
|---|---|---|
| Epoxy Primer | White, Black, Gray | Spray |
| Multi-Surface Primer | White, Gray | Brush/Spray |
Remember, correctly applying a primer makes all the difference. For additional tips, check out our guide on how to use epoxy resin.
By preparing your epoxy resin properly and using an appropriate primer, you set the stage for a successful and long-lasting paint job. For more detailed steps, you can also read about how to sand and polish epoxy resin.
Tips for Successful Painting
Discovering the best way to paint over epoxy resin can make your home renovation projects smoother and more enjoyable. Below are some key tips and tricks.
Tools and Materials
Before starting, it’s important to gather the right tools and materials for painting over epoxy resin. These items include:
- Primer: A primer specifically designed for epoxy surfaces is crucial for promoting adhesion and ensuring a long-lasting finish.
- Paint: Choose high-quality paint suitable for use over primer on epoxy surfaces.
- Sandpaper: Lightly sanding the epoxy surface (using 220-320 grit sandpaper) will help the paint adhere better.
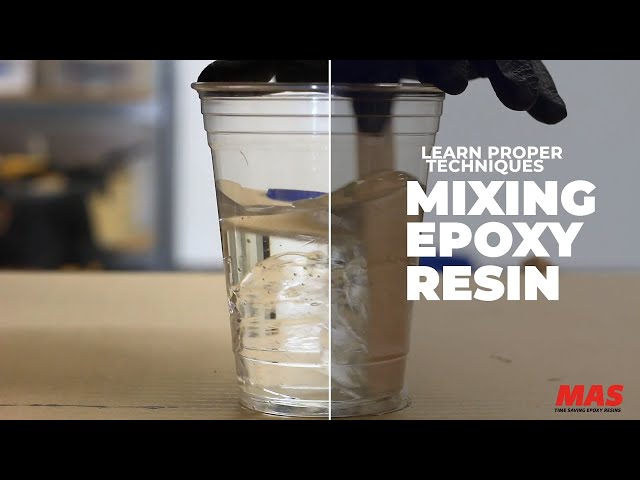
- Mixing Tools: Ensure you achieve the correct 2:1 mix ratio of resin to hardener when not using pumps by measuring 2 parts resin to 1 part hardener by weight or volume (Entropy Resins).
- Brushes and Rollers: Quality brushes and rollers are necessary for a smooth application.
- Protective Gear: Use gloves and masks to protect yourself from fumes and spills.
Here’s a handy table to remember these essentials:
| Tool/Material | Purpose |
|---|---|
| Primer | Promotes adhesion |
| Paint | Provides color and finish |
| Sandpaper | Helps in surface preparation |
| Mixing Tools | Ensures correct resin-hardener ratio |
| Brushes/Rollers | Smooth application |
| Protective Gear | Safety |
Avoiding Common Mistakes
- Skipping Primer: Painting over epoxy resin without using a primer can result in poor adhesion and a less durable finish. Always apply a primer designed for epoxy surfaces (Resin Obsession).
- Wrong Primer Color: Use a primer color that complements the paint. Primers typically come in white, black, and grey. Choosing the right one helps in achieving the desired final color.
- Skipping Surface Preparation: Always ensure the epoxy surface is clean, free of dirt, dust, and grease before painting. Lightly sanding the surface improves paint adhesion (Wood Emotions).
- Incorrect Mix Ratio: Properly measure the resin and hardener to achieve the correct mix ratio. This guarantees the optimum durability and finish of the epoxy.
By following these tips, you’ll be better prepared for a successful project. For more advice, consider exploring related topics like what is epoxy resin and how to polish epoxy resin.
Applying Paint Over Epoxy
Timeframes and Considerations
When planning to paint over epoxy resin, timing and specific considerations are crucial for achieving a smooth and durable finish. First, allow the epoxy resin to cure thoroughly before painting. This ensures the surface is hard, stable, and ready to accept new layers of paint. Usually, epoxy resin takes about 72 hours to cure, but check the manufacturer’s instructions for exact curing times. For detailed information on curing times, refer to how long does it take for epoxy resin to dry.
| Stage | Timeframe |
|---|---|
| Initial Cure | 24 Hours |
| Thorough Cure | 72 Hours |
| Full Chemical Cure | 7 Days |
Ensure you work in a dust-free environment during the curing period to prevent debris from embedding in the epoxy surface. When applying a finish coating over epoxy, it’s important to consider UV protection. Using a white or glossy white coating can reflect more light and provide longer-lasting protection.
Post-Curing Considerations
Once the epoxy resin has cured, specific post-curing considerations can enhance the effectiveness of your paint job. Most types of coatings are compatible with epoxy, as it becomes an almost completely inert, hard plastic once fully cured. However, certain materials such as one-part polyurethanes and polyester gel coats may be affected by epoxy amines. Therefore, ensuring thorough curing before application is critical.
Check if a sanding process is needed to roughen the surface for better paint adhesion. Use fine-grit sandpaper (320-400 grit) to achieve an evenly roughened surface. After sanding, clean the epoxy surface thoroughly with a damp cloth to remove any dust or particles that could interfere with paint adhesion. For more detailed guidance on surface preparation, visit our article on how to clean epoxy resin.
When it comes to the finishing touches, consider applying a UV-resistant topcoat to protect your painted epoxy from sun damage. Ensuring the longevity of your work can be significantly influenced by your choice of protective coating.
By following these guidelines, you can ensure that your venture into painting over epoxy resin is successful. For further reading on related topics, explore our articles on how to use epoxy resin and is epoxy resin out of style.

