How to Polish Epoxy Resin: Complete Guide
Polishing Epoxy Resin: A Comprehensive Guide
The process of polishing epoxy resin requires careful attention to detail and proper technique. By understanding the nuances of epoxy resin polishing, you can achieve a glossy, professional finish on your projects, whether it’s a countertop, jewelry, or any other creation.
Understanding Epoxy Resin Polishing
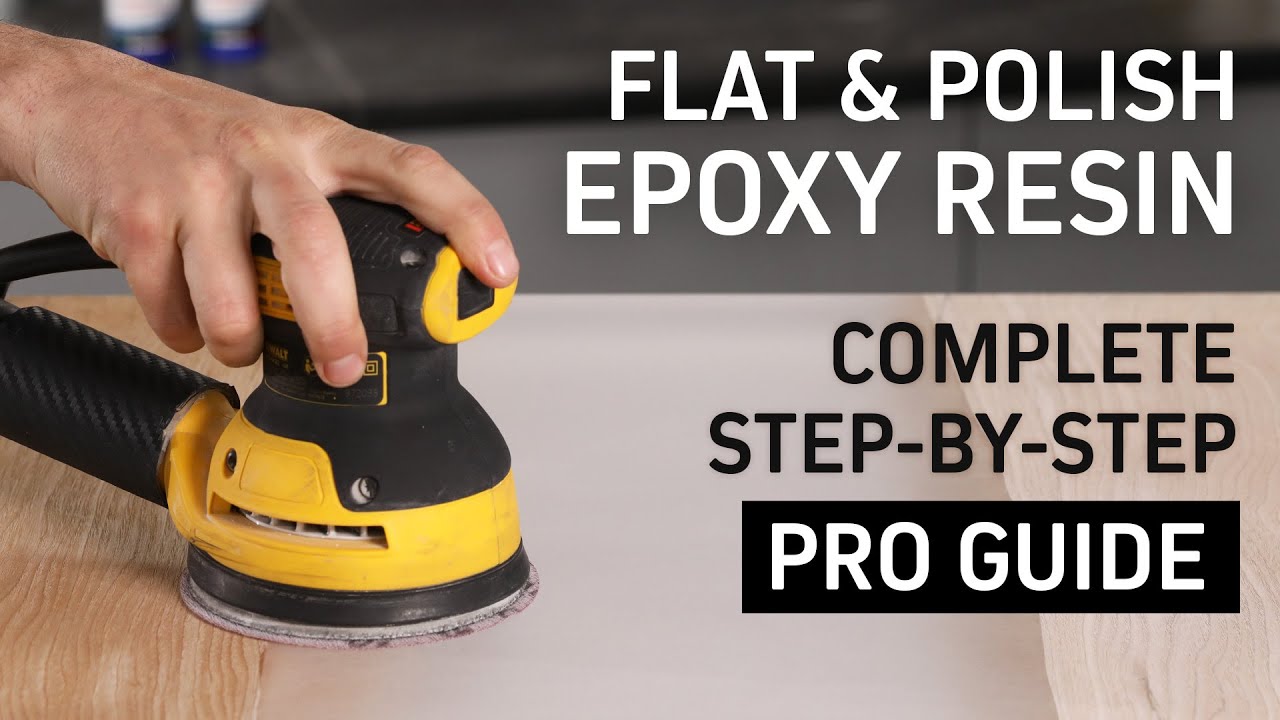
Epoxy resin polishing involves smoothing out the surface to enhance its visual appeal and durability. Polishing not only brings out the shine but also protects the piece, smoothing out imperfections and extending its longevity (Carved).
Why Polishing is Crucial
Polishing your epoxy resin piece is essential for several reasons:
- Aesthetics: Achieving a high-gloss finish enhances the overall look of your project.
- Protection: A polished surface helps protect against minor scratches and wear.
- Smooth Finish: Reducing surface imperfections leads to a smoother, more professional appearance.
- Longevity: Proper polishing extends the life of your epoxy resin creation.
Polishing Considerations
- Surface Condition: If your epoxy surface is slightly dull but free from significant scratches, you can proceed directly to polishing. However, if there are scratches or blemishes, it’s essential to prepare the surface by sanding before polishing.
- Heat Management: Polishing generates heat, which can potentially damage the epoxy. It’s crucial to know when to pause to let the epoxy cool during the process.
Recommended Tools
Using the right tools is key to achieving a perfectly polished surface:
- Polisher: Opt for a quality electric polisher with a foam pad.
- Polishing Paste: Select a high-quality paste suitable for epoxy resin.
- Foam Polishing Pad: Essential for gentle application without scratching.
You can find a more detailed list of necessary tools in our section on essential tools for polishing.
Smooth and Consistent Movements
While polishing, it’s important to move smoothly and consistently without lingering at any one spot. The goal is to polish the compound into the surface until it is no longer visible (UltraClear Epoxy). Avoid high-speed angle grinders as they may overheat the surface and lack precision (Resin Pro).
| Polishing Equipment | Function | Recommended Tool |
|---|---|---|
| Polisher | Apply consistent pressure and heat | Electric polisher with foam pad |
| Polishing Paste | Enhance gloss and smoothness | High-quality polishing paste |
| Foam Pad | Gentle application | Foam polishing pad |
With a solid understanding of epoxy resin polishing, you can ensure your projects are not only beautiful but also durable. Remember to stay consistent, manage heat, and use the right tools for the best results. For more insights on using epoxy resin, check out our article on how to use epoxy resin.
Preparing Epoxy Resin Surface
Proper preparation of your epoxy resin surface is key to achieving a smooth and polished final product. This includes cleaning and drying the surface, as well as utilizing the correct sanding techniques.
Surface Cleaning and Drying
Before you begin polishing, it’s essential to ensure that the epoxy resin surface is completely clean and dry. A clean surface will allow for a smoother polishing process and better results.
- Gather Supplies: You will need a soft microfiber cloth, mild soap or detergent, and water.
- Clean the Surface: Use a damp cloth with mild soap to gently clean the surface of your epoxy resin. Make sure to remove any dust, debris, or grease.
- Rinse Thoroughly: After cleaning, use another damp cloth with plain water to rinse off any soap residue.
- Dry the Surface: Carefully dry the epoxy resin with a soft, dry microfiber cloth. Ensure the surface is completely dry before proceeding to sanding.
For additional guidance on cleaning epoxy resin, you can refer to our article on how to clean epoxy resin.
Sanding Techniques
Sanding the epoxy resin surface is a crucial step if there are any scratches, blemishes, or if the surface is dull. Sanding prepares the surface for a clear and glossy polish.
Sanding Steps:
- Sandpaper Selection: Start with a coarser grit sandpaper and gradually move to finer grits for a smoother surface. Suggested grits: 400, 600, 800, 1000, and 1500.
- Wet Sanding: Wet sanding is recommended to minimize dust and reduce the risk of overheating the epoxy resin. Soak the sandpaper in water and keep the surface wet while sanding.
- Sanding Process:
- Begin with the coarse grit (400) and sand the entire surface using circular motions.
- Rinse and wipe the surface to remove any sanding residue.
- Repeat the process with the next finer grit (600), and continue this process until you reach the finest grit (1500).
For an in-depth guide on sanding epoxy resin, check out our detailed article on how to sand and polish epoxy resin.
| Grit Level | Purpose |
|---|---|
| 400 | Initial sanding, removing scratches and blemishes |
| 600 | Smoothing out the surface |
| 800 | Further refining the smoothness |
| 1000 | Preparing for final smoothing |
| 1500 | Achieving a smooth, polished finish |
By following these steps and taking meticulous care in the preparation phase, you’ll ensure that your epoxy resin surface is ready for a beautiful, high-sheen polish. For more detailed advice and advanced techniques, consider exploring our resources on how to pour epoxy resin and how to epoxy resin a table top.
Essential Tools for Polishing
Polishing epoxy resin to achieve that perfect shine requires the right set of tools. Gathering the necessary equipment and making informed choices are crucial steps in mastering how to polish epoxy resin.
Necessary Equipment
To achieve a high-gloss finish on your epoxy resin surface, you will need the following tools:
- Polisher with Variable Speed Settings: Allows you to adjust the speed for different stages of polishing.
- Backing Plate: Supports the polishing pads and ensures even pressure distribution.
- Polishing Pads: Essential for applying the polishing compound; use softer pads for the final stages.
- Fast-Cutting Compound: Helps remove deeper scratches and imperfections.
- Ultra-Gloss Polishing Compound: Provides the final, high-gloss finish.
- Microfiber Cloths: For manual application and buffing.
- Sandpaper (Various Grits): For initial sanding, typically ranging from 400 to 3000 grit.
- Electric Buffer: For efficient and consistent polishing. Avoid high-speed angle grinders, as they may overheat the resin and lack precision (Resin Pro).
Here is a quick reference table for the necessary equipment:
| Tool | Purpose |
|---|---|
| Polisher with Variable Speed | Control speed for various stages |
| Backing Plate | Support and even pressure |
| Polishing Pads | Apply compounds; different pads for stages |
| Fast-Cutting Compound | Remove deeper scratches |
| Ultra-Gloss Polishing Compound | Final high-gloss finish |
| Microfiber Cloths | Manual application and buffing |
| Sandpaper (400-3000 grit) | Initial sanding |
| Electric Buffer | Consistent and efficient polishing |
Tool Selection Tips
-
Polisher: Choose a polisher with variable speed settings to have control over the polishing process. This flexibility is crucial for adjusting the speed to match different polishing stages.
-
Backing Plate and Polishing Pads: Ensure compatibility between the backing plate and polishing pads. Different stages of polishing require specific types of pads; for example, start with a coarser pad for cutting and use a softer pad for the final polish.
-
Compounds: Opt for a fast-cutting compound to remove larger imperfections and follow with an ultra-gloss polishing compound for a mirror-like finish. Always use quality brands recommended for epoxy resin (Carved).
-
Sandpaper: Begin with a lower grit to remove significant imperfections and gradually move to higher grits for a smoother finish. Always ensure the sandpaper is suitable for wet sanding, which is ideal for epoxy resin surfaces.
-
Electric Buffer: Use an electric buffer specifically designed for polishing, not grinding. High-speed angle grinders should be avoided as they may cause uneven heating, leading to potential damage (Resin Pro).
By selecting the right tools and understanding their specific functions, you will be well-equipped to polish your epoxy resin projects to perfection. For details on choosing the right polisher, visit our guide on what are some good polishers for epoxy resin. Remember to frequently inspect the surface during the polishing process to achieve the best results.
Proper Polishing Techniques
To achieve a perfect finish when polishing epoxy resin, mastering smooth and consistent movements as well as managing surface temperature is essential. Here’s how you can do it effectively.
Smooth and Consistent Movements
When polishing epoxy resin, maintaining a steady hand and consistent motions is crucial to avoid uneven surfaces and scratches. Here are some tips to help you:
- Use Light Pressure: Apply gentle pressure to the resin surface to prevent creating gouges or burn marks. High pressure can damage the delicate epoxy layer.
- Circular Movements: Polish using circular or back-and-forth motions to ensure even coverage and reduce the appearance of streaks or swirl marks.
- Consistent Speed: Whether you’re using a hand buffer or an electric tool, keep the speed steady. Inconsistent speed can lead to uneven polishing.
Electric buffers with dedicated pads are recommended for achieving consistent results. For smaller projects, hand buffing provides excellent control and precision (Carved). For larger surfaces, machine polishing can be efficient and time-saving.
Managing Surface Temperature
The key to a perfect polish is to manage the surface temperature of the epoxy resin. Buffer tools generate heat that can potentially damage the resin, so it’s crucial to know when to pause and allow the epoxy to cool (UltraClear Epoxy). Follow these guidelines to manage the temperature effectively:
- Monitor Surface Temperature: Frequently touch the surface with the back of your hand. If it becomes too hot to touch, stop and let it cool before continuing.
- Use Quality Polishing Paste: A good polishing paste can help minimize heat buildup. For tips on choosing the right paste, see polishing paste selection.
- Avoid High-Speed Tools: High-speed angle grinders should be avoided as they can heat the surface excessively and lack precision.
- Short Bursts: Use short polishing bursts followed by small breaks to manage surface temperature better. This helps to prevent heat damage and ensures a smooth finish.
By following these techniques and managing the temperature carefully, you can achieve a polished epoxy resin surface that looks professional and flawless. Check out how to clean epoxy resin off tools for post-polishing cleanup tips and advice.
For an in-depth guide on the complete process of how to polish epoxy resin, explore our step-by-step guide provided in this article.
Polishing Process Steps
Polishing epoxy resin is essential for achieving a clear and glossy finish. Here, we’ll walk you through the step-by-step guide for successfully polishing your epoxy resin surface and highlight the importance of monitoring the surface temperature throughout the process.
Step-by-Step Guide
-
Prepare Your Tools and Surface: Ensure you have all the necessary tools such as a polisher with a foam polishing pad, polishing compound, microfiber towels, and a surface thermometer. Make sure your epoxy surface is clean and dry. For a detailed list of tools, visit our page on what are some good polishers for epoxy resin.
-
Apply Polishing Compound: Apply a small amount of polishing compound onto the pad of your polisher. A dime-sized amount is usually sufficient.
-
Start Polishing: Turn on the polisher and begin polishing the epoxy surface with smooth and consistent movements. Avoid lingering on any spot as it can cause heat build-up and potential damage. The goal is to polish the compound into the surface until it becomes nearly invisible. (UltraClear Epoxy)
-
Wipe Off Excess Compound: Use a clean microfiber towel to wipe off any excess polishing compound from the surface.
-
Repeat If Necessary: If the surface isn’t as glossy as desired, you can repeat the polishing process. Make sure to apply a fresh layer of polishing compound each time.
-
Final Inspection: After achieving the desired finish, inspect the surface under good lighting to ensure an even gloss and smoothness.
Monitoring Surface Temperature
Monitoring the surface temperature is crucial during the polishing process. Excessive heat can cause the epoxy to soften or warp, leading to an uneven finish or potential damage to the resin.
-
Check Temperature Regularly: Use a surface thermometer to monitor the temperature of the epoxy surface periodically. An ideal temperature range is between 70°F to 90°F.
-
Pause If Necessary: If the surface temperature exceeds 90°F, pause the polishing process. Allow the surface to cool down before resuming to avoid heat damage. (UltraClear Epoxy)
-
Work in Small Sections: To better manage surface temperature, work in small sections rather than the entire surface at once. This allows you to maintain better control and prevent excessive heat build-up.
By following these steps and monitoring the surface temperature, you can achieve a professional-level finish on your epoxy resin projects. For additional techniques and advanced methods, check out our articles on how to sand and polish epoxy resin and how to use epoxy resin.
Advanced Polishing Methods
Polishing epoxy resin can be done using various methods, but when it comes to achieving a flawless finish, advanced techniques such as machine polishing and hand polishing are preferred. Below, you will find detailed instructions on how to accomplish each method effectively.
Machine Polishing
Machine polishing is perfect for larger surfaces like epoxy resin tabletops or countertops. This method is fast and efficient, providing a consistent and even polish.
To get started, you will need an electric polisher with adjustable speed settings, as a high-speed angle grinder is not recommended due to possible overheating.
Follow these steps for machine polishing:
- Select the Right Polisher: Opt for an electric buffer that provides consistent speed and has dedicated polishing pads.
- Polishing Paste: Use a quality polishing paste to enhance the shine and smoothness of the epoxy resin surface (Resin Pro).
- Apply Light Pressure: Press lightly with the polisher to avoid burning the surface.
- Move Consistently: Utilize smooth and consistent movements to ensure an even polish.
- Monitor Temperature: Keep an eye on the surface temperature to prevent overheating.
Check out our guide on how to sand and polish epoxy resin for additional tips.
Hand Polishing Techniques
Hand polishing is ideal for smaller epoxy resin projects such as jewelry or intricate designs. This method offers greater control and precision.
To hand polish epoxy resin, you will need a few essential tools:
- Colorless Polishing Paste: Necessary for achieving a high shine.
- Water Feed: Keeps the surface cool and prevents overheating.
- Linen or Cotton Cloth: Used for applying the paste and polishing.
- Backing Pad or Block of Wood: Provides a sturdy base for polishing.
Here is the step-by-step process for hand polishing:
- Pre-Polish Cleaning: Ensure the surface is clean and dry before starting.
- Apply Paste: Add a small amount of colorless polishing paste to the surface.
- Use a Cloth: Wrap a linen or cotton cloth around the backing pad or block of wood.
- Circular Movements: Rub the surface in circular motions with light pressure (Resin Pro).
- Remove Residue: Frequently remove any residue left by the polishing paste to control the polish’s brilliance.
- Inspect the Surface: Regularly inspect the surface to ensure you achieve the desired shine.
Hand polishing may take more time and effort but yields precise and highly controlled results.
For more information on selecting the right tools and techniques for your resin projects, see our article on what are some good polishers for epoxy resin.
Understanding these advanced polishing methods will help you achieve professional-level finishes on your epoxy resin projects, whether you’re working on large surfaces or intricate designs. Happy polishing!
Tips for Successful Epoxy Resin Polishing
To achieve a perfectly polished epoxy resin surface, selecting the right tools and techniques is essential. Here, you will find tips on polishing paste selection and surface inspection methods to help you get the best results.
Polishing Paste Selection
Choosing the correct polishing paste is crucial for attaining a smooth and shiny epoxy resin surface. A high-quality paste helps to reduce scratches and enhance the luster of your project. Here are some tips for selecting the right polishing paste:
-
Consistency: Opt for a paste that offers a balance between fine and coarse particles to eliminate minor imperfections without damaging the surface.
-
Application: Apply the paste with light pressure to avoid burning the epoxy resin surface. Using an electric buffer with a dedicated pad can help distribute the paste evenly and achieve a uniform finish.
-
Compatibility: Ensure that the polishing paste is compatible with epoxy resin. Some pastes are specifically formulated for this material, providing better results.
-
Brands: Stick to well-known brands that are trusted for their quality. Reading reviews and product descriptions can offer insights into the effectiveness of the paste.
| Feature | Recommended Option |
|---|---|
| Grit Level | Medium (for minor scratches) |
| Application Tool | Electric buffer with pad |
| Pressure | Light |
For more on the polishing process, including tool selection, check out our guide on how to sand and polish epoxy resin.
Surface Inspection Techniques
Inspecting the epoxy resin surface carefully during the polishing process ensures that no areas are missed and that the final finish is flawless. Here are some effective surface inspection techniques:
-
Visual Inspection: Use good lighting to spot any remaining imperfections. Look from different angles to catch reflections and assess the smoothness.
-
Tactile Inspection: Run your fingers lightly over the surface to feel for any rough spots or bumps. This method helps to detect defects that may not be visible to the eye.
-
Use of Magnification: Employ a magnifying glass to examine the surface closely. This tool can reveal fine scratches and other minor flaws that need attention.
-
Periodic Cleaning: Wipe the surface clean with a microfibre cloth throughout the process. This helps to remove residue and allows for a better inspection of progress.
For more tips on how to keep your epoxy resin projects looking their best, read our article on how to clean epoxy resin.
By following these tips on selecting the right polishing paste and inspecting your surface effectively, you can master the art of epoxy resin polishing and achieve a professional-quality finish for your projects. Want to know more about epoxy resin? Explore our guide to what is epoxy resin and other related topics.

