How to Cure Epoxy Resin: Proper Techniques
Understanding Epoxy Curing
In this section, you’ll learn about the crucial aspects of curing epoxy resin. Proper curing is essential for achieving strong, durable results in your projects.
The Importance of Proper Curing Conditions
Ensuring the right curing conditions for epoxy resin is vital for its performance and longevity. The curing process involves a chemical reaction between the resin and hardener, which transforms the mixture from a liquid to a solid state. This transformation needs to occur under specific conditions to avoid issues like incomplete curing, bubbles, or weak mechanical properties.
For best results, keep the environment within the suggested parameters: humidity levels below 85%, ideally between 50-60%, and a temperature range of 70-80°F. In regions with high temperatures and extreme humidity, such as Florida, maintaining these conditions can be challenging but is crucial to avoid curing problems.
Factors Affecting Epoxy Curing
Several factors can influence the curing process of epoxy resin. These include temperature, humidity, and the mixing ratio of resin and hardener.
-
Temperature: Temperature significantly affects the curing times. Higher temperatures speed up both drying and curing processes, while lower temperatures slow them down. For example, at 75°F (24°C), the epoxy resin will cure faster than at 60°F (16°C).
-
Humidity: High humidity can interfere with the curing process, resulting in a cloudy or sticky finish. Aim to work in conditions where humidity levels are between 50-60% for optimal results (WiseBond).
-
Mixing Ratio: Proper mixing of resin and hardener is essential. An incorrect ratio can lead to incomplete curing and poor mechanical properties. Always follow the manufacturer’s instructions for mixing ratios and application techniques (Greenlight Surf Supply, Entropy Resins).
Optimal Curing Conditions for Epoxy Resin
| Factor | Recommended Range |
|---|---|
| Temperature | 70-80°F (21-27°C) |
| Humidity | 50-60% |
| Mixing Ratio | As per Manufacturer’s Instructions |
Understanding these factors and maintaining optimal conditions can help ensure a successful and durable epoxy curing process. For more details on using epoxy resin effectively, check out our guide on how to use epoxy resin and troubleshooting cures on how to remove epoxy resin.
Ideal Temperature and Humidity
When it comes to knowing how to cure epoxy resin effectively, understanding the ideal temperature and humidity is crucial. Proper conditions ensure that your epoxy resin cures correctly, achieving optimal strength and durability.
Temperature Range for Curing
Epoxy resin’s curing process is significantly influenced by temperature. Higher temperatures speed up curing, while lower temperatures slow it down. It’s important to maintain a consistent temperature for ideal results.
For many epoxy resins, including Greenlight Marine Grade epoxy, the drying time ranges from 75 minutes to 4 hours based on temperature and hardener type. Full curing can take about seven days. Here’s a guide for temperature ranges:
| Temperature | Effect on Curing |
|---|---|
| 60°F (16°C) | Slower curing |
| 75°F (24°C) | Optimal curing |
| 90°F (32°C) | Faster curing |
According to CHILL EPOXY™, an ideal temperature range for curing epoxy resin is 72–74°F (22-24°C). This temperature range ensures the best balance between working time and curing speed.
Impact of Humidity on Curing
Humidity also plays a vital role in the epoxy curing process. Epoxy resin cures best at relative humidity levels between 40-60% (CHILL EPOXY™). High humidity can cause slow or uneven curing, potentially resulting in a weaker bond. Conversely, low humidity can make it difficult for the resin to cure properly.
| Humidity Level | Effect on Curing |
|---|---|
| < 40% | Slow curing or improper curing |
| 40-60% | Optimal curing |
| > 60% | Slow or uneven curing |
In regions with high temperatures and extreme humidity, such as Florida, it is essential to maintain consistent humidity and temperature levels throughout the entire curing process to avoid issues (WiseBond).
Always allow your epoxy resin to cure fully and properly to achieve optimal durability and resistance to environmental factors. Complete curing typically takes around seven days (Greenlight Surf Supply). For more on epoxy resin, explore how to use epoxy resin on wood and how to add color pigment to epoxy resin.
Mixing and Application
Mixing and applying epoxy resin correctly is essential for a successful outcome. Below, we’ll explain the proper techniques for mixing ratios and application methods to ensure your epoxy cures properly.
Correct Mixing Ratios
Achieving the correct mixing ratio is crucial for the epoxy resin to cure properly. Incorrect proportions of resin and hardener can lead to curing issues such as soft or sticky epoxy.
- Measure by Weight: Always use kitchen scales to measure the components. Mixing by volumetric measurements can lead to inaccuracies.
- Follow Instructions: Refer to the hardener label or technical data sheet for the exact mix ratio of resin to hardener.
- Use Dispensing Tools: Utilize precise dispensing tools like Entropy Pumps to measure the correct ratio (Entropy Resins).
| Measurement | Method | Accuracy |
|---|---|---|
| Volume | Traditional Measuring Cups | Less Accurate |
| Weight | Kitchen Scales | Highly Accurate |
Application Techniques for Success
Proper application techniques ensure that the epoxy resin cures effectively:
- Use Clean Containers: Dispense the correct proportions of resin and hardener into a clean plastic, metal, or wax-free paper container. Avoid glass or foam containers due to the risk of exothermic heat buildup.
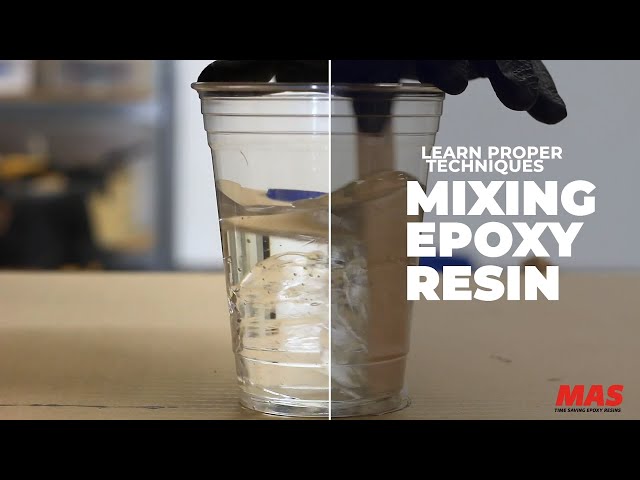
- Mix Thoroughly: Mix the components slowly and combine them thoroughly to avoid introducing air bubbles.
- Spread Evenly: Apply the mixed epoxy evenly over the surface to ensure uniform curing.
- Follow Manufacturer Instructions: Always adhere to the manufacturer’s guidelines for the epoxy resin you’re using. For detailed guidance, refer to our article on how to mix epoxy resin.
For better results, consider the following application tips:
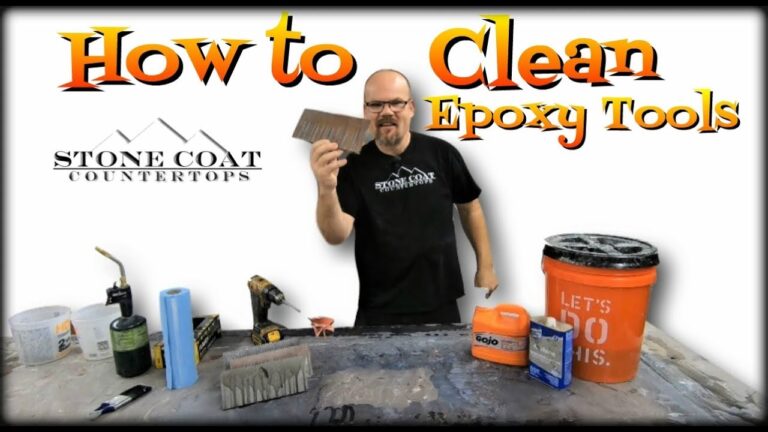
- Surface Preparation: Ensure that the surface is clean and free from dust and impurities. For more details, read our article on how to clean epoxy resin off tools.
- Temperature Control: Maintain the ideal temperature and humidity levels during the curing process. This is crucial for the resin to cure effectively.
- Avoid Impurities: Keep the work area free from any foreign particles that may contaminate the epoxy.
By following these guidelines, you can achieve optimal results and avoid common curing problems. For more information on how to use epoxy resin for various projects, visit how to use epoxy resin and check out our tips for how to pour epoxy resin.
Troubleshooting Curing Issues
Common Problems and Solutions
When you are learning how to cure epoxy resin, you might encounter some common problems. Here are a few typical issues and their solutions:
| Problem | Cause | Solution |
|---|---|---|
| Sticky Resin | Improper mixing or incorrect ratio of resin to hardener | Ensure accurate measuring and thorough mixing; follow manufacturer instructions precisely (Entropy Resins) |
| Blushing | High humidity during curing process | Maintain humidity levels between 50-60% (WiseBond) |
| Cloudiness | Moisture or impurities on the surface | Ensure surfaces and tools are clean and dry (CHILL EPOXY™) |
| Bubbling or Foaming | Trapped air or excessive humidity | Use a heat gun to remove trapped air and ensure optimal humidity levels (WiseBond) |
| Rapid Curing | High ambient temperature | Keep temperature stable between 70-80°F (Greenlight Surf Supply) |
Tips for Optimal Curing Results
Achieving the perfect cure for your epoxy resin projects can be made easier by following these key tips:
- Accurate Measurements: Always use a scale or precise measuring tools to ensure the correct resin-to-hardener ratio. Check the technical data sheet for exact proportions. Inaccurate ratios can lead to sticky results or weak mechanical properties (Entropy Resins).
- Thorough Mixing: Mix the resin and hardener in a consistent and thorough manner. Incorporate the two components by stirring slowly to prevent air bubbles.
- Controlled Environment: Maintain an optimal curing environment with humidity levels between 50-60% and temperature ranges from 70-80°F (WiseBond, Greenlight Surf Supply).
- Surface Preparation: Ensure the surface is free from dust, oil, and moisture. Clean surfaces promote proper adhesion and curing (CHILL EPOXY™).
- Use Heat Wisely: Apply gentle heat, such as from a heat gun, to help release trapped air bubbles. Be cautious to avoid overheating the epoxy.
- Follow Instructions: Always see the manufacturer’s guidelines for mixing, application, and curing times. Each epoxy product may have specific recommendations.
For further guidance, explore related topics like how to use epoxy resin, how to pour epoxy resin, and how long does it take for epoxy resin to dry.
Environmental Considerations
Managing Temperature and Humidity
Proper management of temperature and humidity is crucial for successful epoxy curing. The ideal environment for curing epoxy resin should have temperatures between 70-80°F (21-27°C) and humidity levels between 50-60%.
Optimal Temperature and Humidity Levels:
| Condition | Ideal Range |
|---|---|
| Temperature | 70-80°F (21-27°C) |
| Humidity | 50-60% |
Maintaining these conditions helps ensure the epoxy resin cures properly. Deviations, such as higher temperatures, can accelerate the curing process, potentially leading to improper bonding or defects in the finish. Conversely, temperatures lower than 70°F (21°C) can slow the curing process, which might result in weaker bonds.
Humidity levels are equally important. High humidity can interfere with the curing process, causing issues such as blushing, loss of clarity, foaming, or even quick curing. Maintaining a stable humidity level of 50-60% helps in achieving a clear, flawless finish.
Dealing with Impurities and Moisture
Impurities and moisture in the environment can adversely affect the curing process of epoxy resin. Managing these elements is paramount for achieving the best results. Ensuring surface cleanliness is essential as it prevents contamination, which can disrupt the curing process.
Steps to Deal with Impurities and Moisture:
-
Clean Surfaces: Before applying epoxy, make sure the surface is clean, dry, and free from dust, grease, and other contaminants. This ensures better adhesion and a smoother finish.
-
Control Humidity: Use a dehumidifier to maintain the ideal humidity levels. High humidity can introduce moisture into the epoxy, causing defects such as bubbles and improper curing.
-
Regulate Temperature: Ensure the work environment remains within the optimal temperature range. Use heaters or fans as needed to stabilize the temperature.
For more tips on how to manage your epoxy resin projects, visit our guides on how to use epoxy resin and how to clean epoxy resin.
Remember, managing environmental conditions effectively can make all the difference in the success of your epoxy curing process. Implement these practices to achieve optimal curing results and a high-quality finish in your epoxy resin projects.
Best Practices for Epoxy Resin
Mastering the art of working with epoxy resin involves following some essential best practices. Key among these are ensuring surface cleanliness and strictly adhering to the manufacturer’s instructions. Let’s delve into these topics to help you achieve optimal results in your home renovation projects.
Ensuring Surface Cleanliness
The surface you plan to epoxy must be meticulously clean to ensure strong adhesion and a flawless finish. Dust, oils, and other contaminants can interfere with the curing process, leading to uneven results or adhesion issues.
Steps to Ensure Surface Cleanliness:
- Remove Dust and Debris: Use a vacuum or soft brush to clear away any loose particles from the surface.
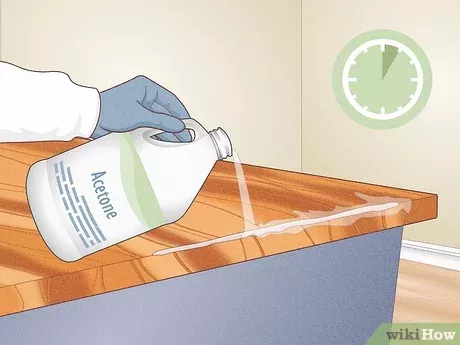
- Degrease: Wipe the surface with a degreasing agent or isopropyl alcohol to remove oils and other residues.
- Sand (if necessary): Lightly sand the surface to ensure better adhesion, then remove the sanding dust with a tack cloth or vacuum.
For more details on surface preparation, refer to our guide on how to clean epoxy resin.
Importance of Following Manufacturer Instructions
Adhering strictly to the manufacturer’s instructions is critical when working with epoxy resin. Incorrect proportions of resin and hardener are the most common sources of curing problems (Polyestershoppen).
Key Aspects to Follow:
- Mixing Ratios: Always measure the resin and hardener accurately. Use kitchen scales or Entropy Pumps to ensure you get the correct ratio, thereby avoiding issues like soft or sticky epoxy (Entropy Resins).
- Mixing Time: Thoroughly mix the resin and hardener to ensure proper activation of the curing process. Incomplete mixing can hinder the resin from curing correctly (CHILL EPOXY™).
| Step | Task |
|---|---|
| 1 | Measure resin accurately using scales |
| 2 | Pour hardener as per ratio |
| 3 | Mix thoroughly for recommended time |
Refer to the manufacturer’s technical data sheet for precise ratios and mixing times specific to the product you are using. Always prioritize safety by wearing protective gloves and eyewear when handling epoxy resins. For guidance on removal, read how to get epoxy resin off hands.
By following these best practices, you’ll be well on your way to mastering how to use epoxy resin. Ensure that you always work in a controlled environment to manage temperature and humidity effectively, as outlined in our section on environmental considerations. Happy renovating!

