Is JB Weld Paintable: Tips for a Perfect Finish
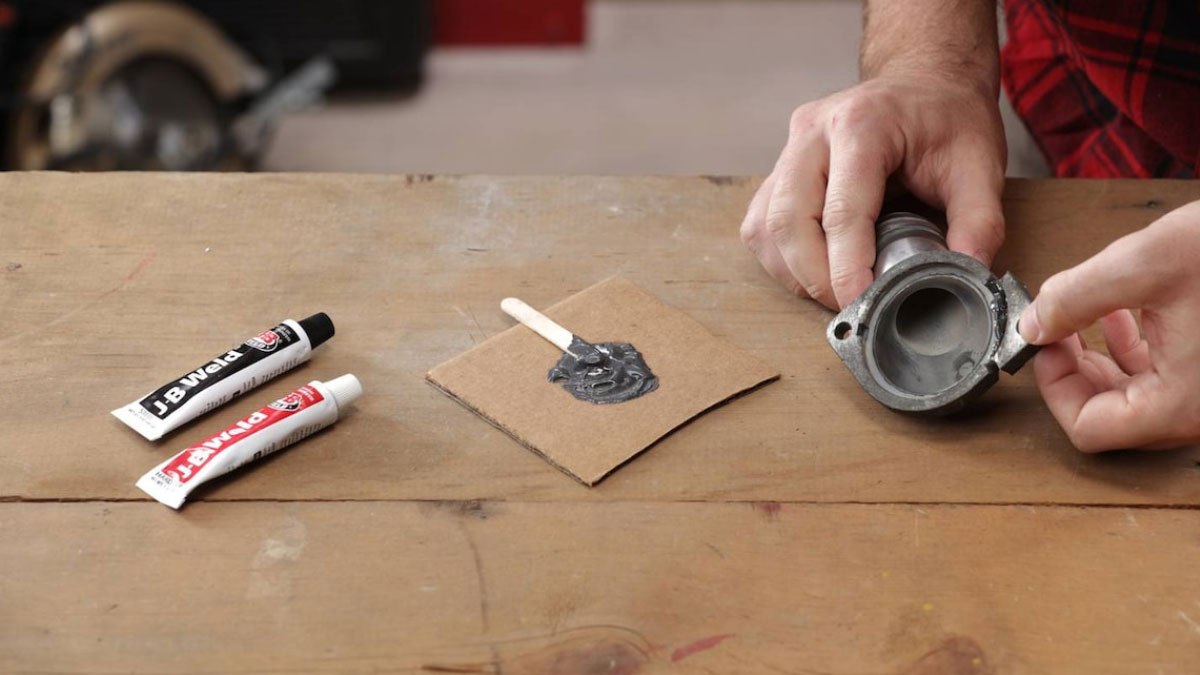
Ever found yourself needing a quick fix for a broken item, only to wonder if you can paint over the repair? JB Weld, a popular epoxy adhesive, often leaves DIY enthusiasts asking this very question. Whether you’re patching up a metal frame or repairing a plastic surface, knowing if JB Weld is paintable can make all the difference in achieving a seamless finish.
In this text, we’ll explore whether JB Weld can be painted and how to do it effectively. You’ll learn the steps to prepare the surface, choose the right type of paint, and ensure your repair job looks as good as new. Immerse to discover how you can give your projects a polished, professional look with JB Weld.
Key Takeaways
- JB Weld is Paintable: You can paint over JB Weld for a smooth, professional finish on your repair projects.
- Surface Preparation is Crucial: Proper preparation involves curing the JB Weld fully, sanding the surface, and cleaning it to ensure paint adhesion.
- Priming Enhances Adhesion: Although optional, applying a primer can significantly improve the paint’s adherence to JB Weld.
- Choosing the Right Paint: Select compatible paints such as automotive, household, or specialty paints depending on the project requirements.
- Steps for Effective Painting: Ensure thorough surface preparation, apply primer, and use multiple thin coats of paint for the best results.
- Follow Best Practices: Adhere to specific best practices like ensuring full curing, adequate sanding, and using compatible materials to avoid common pitfalls.
Can You Paint Over JB Weld?
Yes, you can paint over JB Weld. This knowledge is useful for achieving a smooth and professional finish on your repair projects. It’s crucial to follow specific steps to ensure the paint adheres properly and results in a polished look.
Preparing JB Weld for Painting
Proper preparation is key to painting JB Weld successfully. Follow these four essential steps:
- Curing:
- Importance: Let the JB Weld fully cure to ensure it hardens properly.
- Instructions: Follow the manufacturer’s guidelines, typically allowing 15-24 hours.
- Sanding:
- Purpose: Smooth out the surface and eliminate any excess material.
- Steps: Use fine-grit sandpaper for evenness. Sand the entire JB Weld area until it’s smooth to the touch.
- Cleaning:
- Reason: Removing dust and debris is vital for paint adhesion.
- Method: Wipe the sanded area with a clean, dry cloth. Use a tack cloth if necessary for finer particles.
- Priming:
- Optional but Recommended: Primer can enhance paint adhesion.
- Products: Use standard primer suited for the type of paint you will apply.
Recommended Paint Types
Choosing the right paint ensures a durable and attractive finish. While JB Weld can work with various paints, consider these factors:
- Automotive Paints:
- Usage: Ideal for vehicle repairs due to their durability and finish.
- Benefits: Resistant to harsh weather and chemicals.
- Household Paints:
- Applications: Suitable for home repairs and DIY projects.
- Advantages: Easy to apply and available in many finishes, including matte, gloss, and satin.
- Specialty Paints:
- Types: High-heat, anti-corrosion, or marine paints.
- Considerations: Ensure compatibility with metal surfaces and specific project requirements.
For optimal results, ensure your surface preparation is meticulous. Proper sanding, cleaning, and optionally priming will provide a foundation that makes any paint type more effective.
Steps to Paint JB Weld
JB Weld, renowned for its strong bonding capabilities, is paintable when properly prepared. Here’s how you can achieve a professional, seamless finish on your JB Weld repairs.
Surface Preparation
- Cure Time
- Ensure the JB Weld has fully cured. This typically takes 4-6 hours, but it may vary depending on the specific product and environmental conditions. Always refer to the manufacturer’s instructions for precise curing times.
- Sanding
- Sand the cured JB Weld. Use fine-grit sandpaper to smooth the surface. This step helps create a better bond between the epoxy and the paint. For example, use 220-grit sandpaper for an even surface.
- Cleaning
- Clean the sanded surface thoroughly. Use a damp cloth or a cleaning solution to remove all dust and debris. This ensures that no contaminants interfere with paint adhesion.
Primer Application
- Apply Primer
- Use a suitable primer to coat the sanded surface. Opt for a primer that is compatible with both the JB Weld and the paint you plan to use. For instance, an automotive primer works well for metal surfaces repaired with JB Weld.
- Evenly apply the primer according to the manufacturer’s instructions. Allow it to dry completely before proceeding to paint.
- Choose Paint
- Select a paint compatible with the primer and the material being repaired. Different types of paint suit different surfaces:
- Automotive Paint: Ideal for vehicle repairs.
- Household Paint: Perfect for home projects.
- Specialty Paint: Best for specific repair needs like heat-resistant paint for high-temperature applications.
- Apply Paint
- Apply the paint as per the manufacturer’s instructions. Typically, this involves applying multiple thin coats rather than one thick coat to avoid runs and drips. Ensure the surface is dry and dust-free before each coat.
- Allow sufficient drying time between coats. This ensures a smooth and durable finish.
By carefully following these steps, you’ll achieve a professional look on your JB Weld repair projects. Proper surface preparation, primer application, and mindful painting are key to a successful finish.
Tips and Precautions
When working with J-B Weld, making it paintable requires adherence to specific practices. Proper preparation and careful execution ensure the paint adheres well and the finish looks professional.
Best Practices
- Surface Preparation:
Clean the J-B Weld surface thoroughly, making sure it’s free of any oils, contaminants, or debris.
- Example: Use isopropyl alcohol to wipe the surface.
- Sanding:
Sand the cured J-B Weld using fine-grit sandpaper to smooth out any rough areas, improving paint adhesion.
- Example: 220-grit sandpaper works well for this task.
- Priming:
Apply a primer suitable for epoxy surfaces before painting. This step is particularly crucial if you’re using a different paint type than what would be used on metal.
- Example: An epoxy-based primer ensures better adhesion.
- Paint Compatibility:
Choose paint that is designed to adhere to epoxy surfaces. Certain paints may not bond well, leading to peeling or flaking.
- Example: Automotive paints are often compatible with epoxies.
- Insufficient Curing:
Ensure the J-B Weld is fully cured before painting. Checking the manufacturer’s instructions for curing time is essential to avoid poor adhesion.
- Example: J-B Weld typically requires 4-6 hours to cure.
- Inadequate Sanding:
Not sanding the surface can result in a rough finish where the paint doesn’t adhere properly. Always smooth out the cured J-B Weld before applying primer or paint.
- Example: Skipping sanding can lead to an uneven paint job.
- Ignoring Compatibility:
Using incompatible paint can cause the finish to deteriorate quickly. Verify that the paint selected is meant for use on epoxy surfaces.
- Example: Some water-based paints may not stick well to epoxy.
To summarize, ensuring your J-B Weld project is paintable involves careful preparation and the right materials. Clean the surface, sand it, apply a suitable primer, and choose compatible paint. These steps guarantee a lasting, high-quality finish.
Conclusion
Painting over JB Weld is entirely feasible and can lead to a seamless, professional finish when done correctly. With proper preparation, including allowing the JB Weld to cure, sanding, cleaning, and priming, you can ensure excellent paint adherence and a smooth final appearance. Choosing the right type of paint for your specific project further enhances the outcome.
By following the outlined steps and tips, you can tackle any repair job with confidence, achieving a polished look that stands the test of time. Whether you’re working on a vehicle, household item, or specialty project, these guidelines will help you get the best results from your JB Weld repairs.
Frequently Asked Questions
Can you paint over J-B Weld?
Yes, you can paint over J-B Weld. Ensure it is fully cured before sanding, cleaning, and optionally priming the surface for better adhesion and a smooth finish.
How long should you let J-B Weld cure before painting?
Allow J-B Weld to cure for 4-6 hours before any sanding or painting. For the best results, let it fully cure for 15-24 hours.
What type of paint works best on J-B Weld?
Automotive paints, household paints, and specialty paints are all suitable for J-B Weld. Ensure the paint type is compatible with epoxy surfaces to avoid peeling.
Do you need to sand J-B Weld before painting?
Yes, sanding J-B Weld with fine-grit sandpaper creates a smoother surface and enhances paint adhesion. Clean thoroughly after sanding.
Is applying a primer necessary before painting J-B Weld?
Using a primer is optional but recommended. An epoxy-based primer enhances paint adhesion and helps achieve a professional finish.
How do you clean J-B Weld before painting?
Clean J-B Weld thoroughly with isopropyl alcohol to remove any dust, grease, or debris before painting.
Can you use J-B Weld on plastic surfaces?
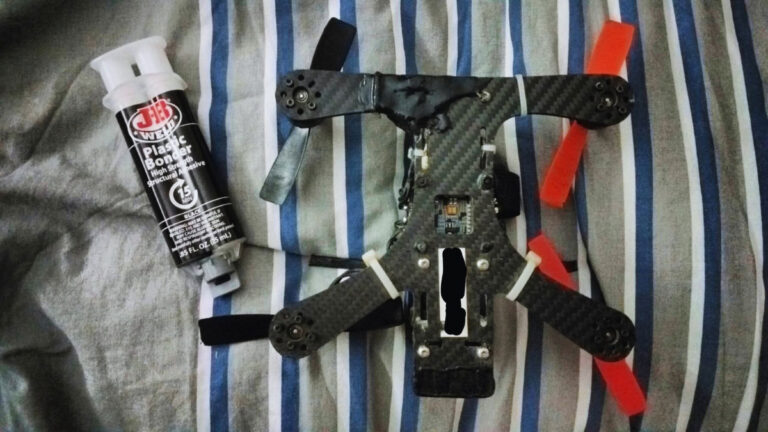
Yes, J-B Weld works on plastic surfaces. Ensure the plastic is not among the incompatible types listed on the product instructions to avoid peeling.
What precautions should you take when painting J-B Weld?
Ensure J-B Weld is fully cured, sand the surface adequately, clean thoroughly, and use compatible paint to avoid issues like peeling or flaking.

